Last Updated on January 20, 2021 by Staff
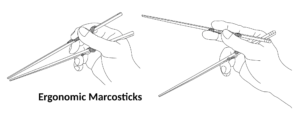
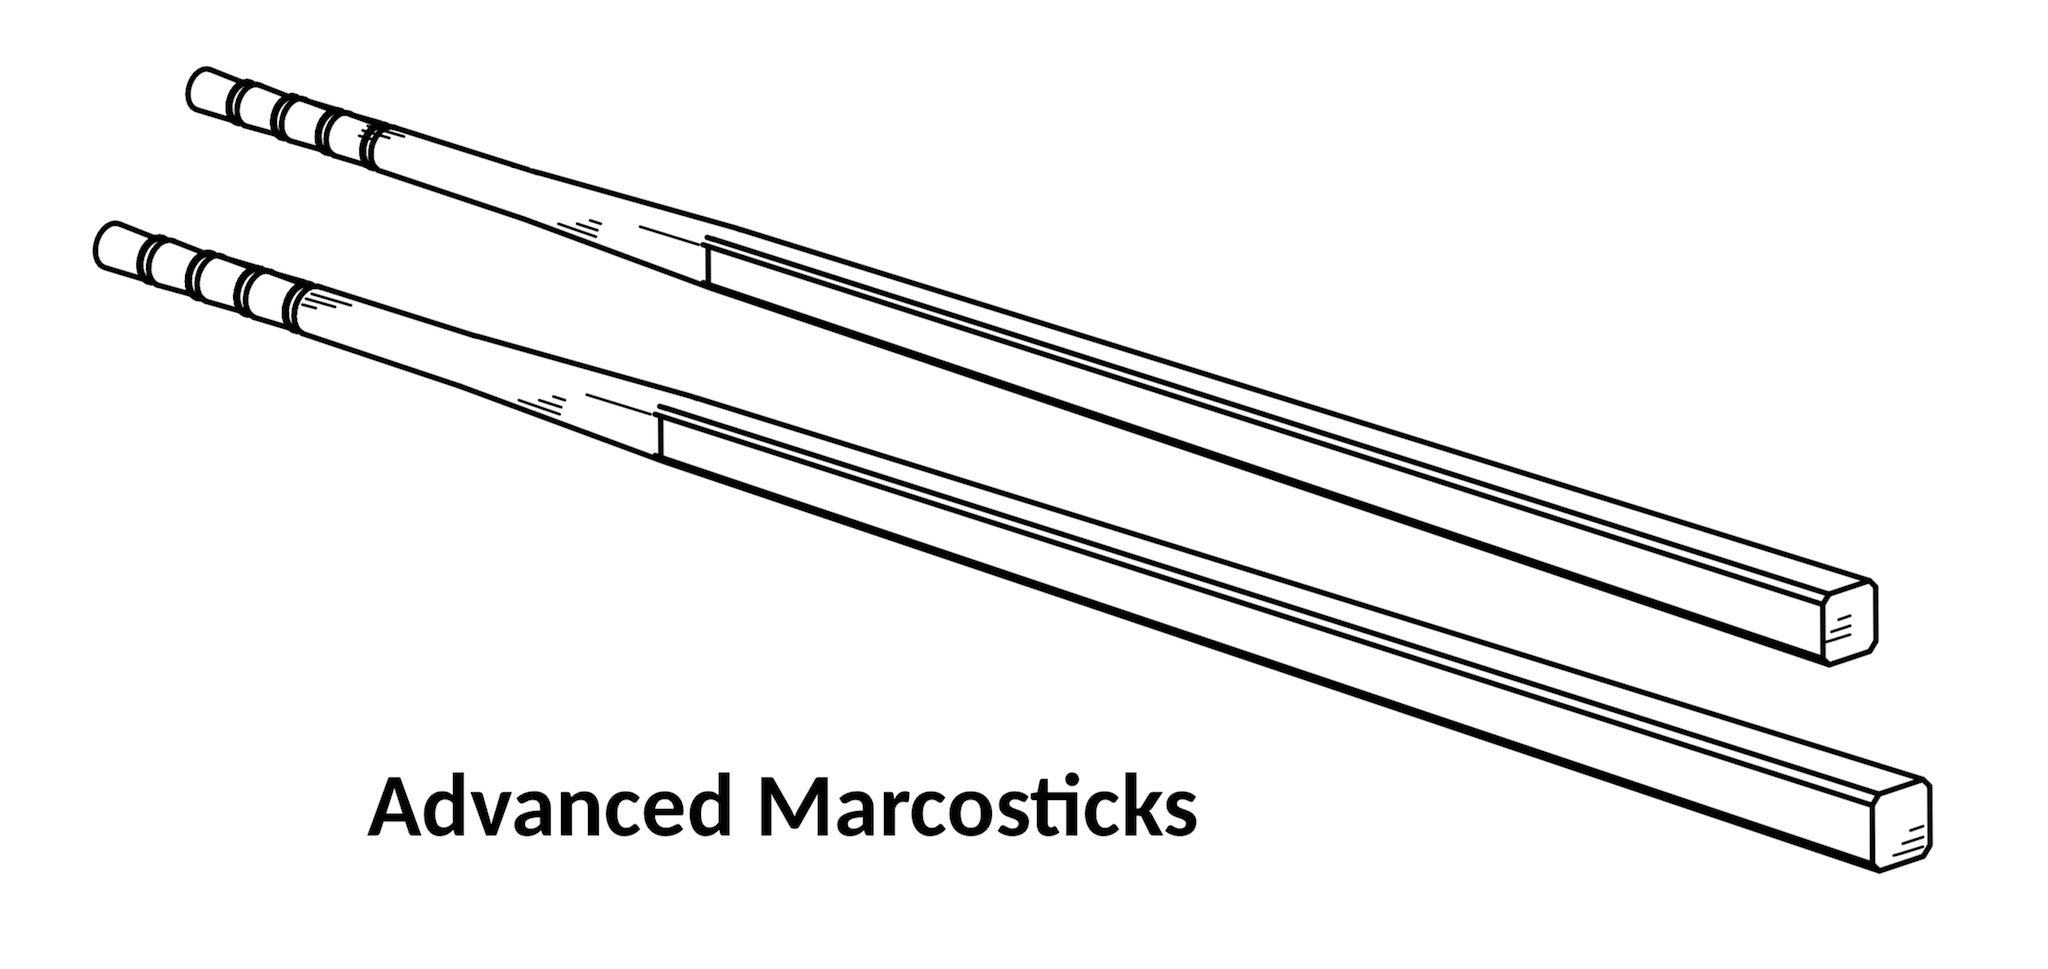
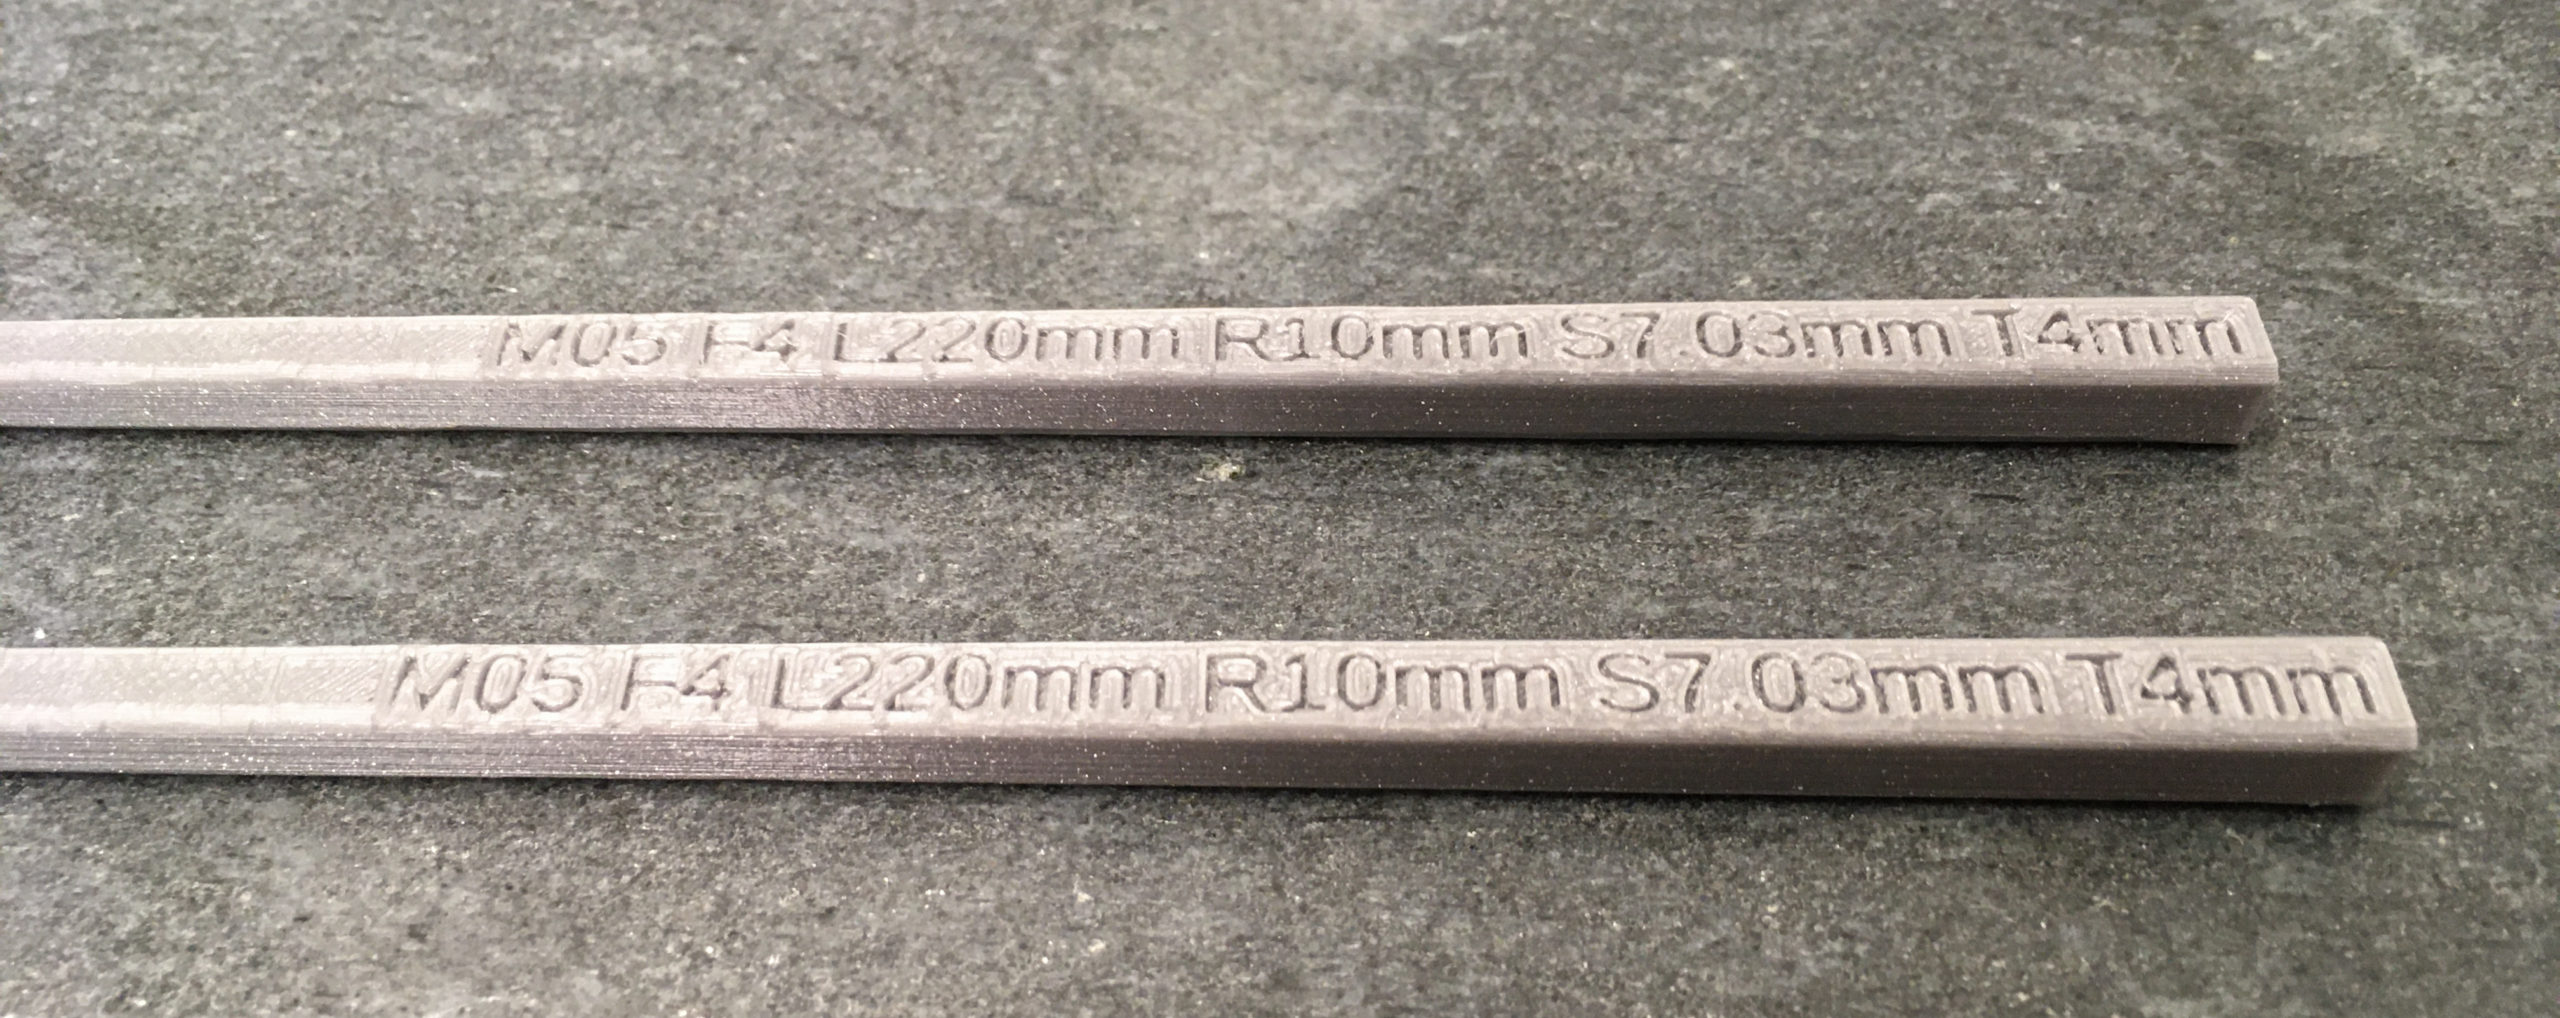
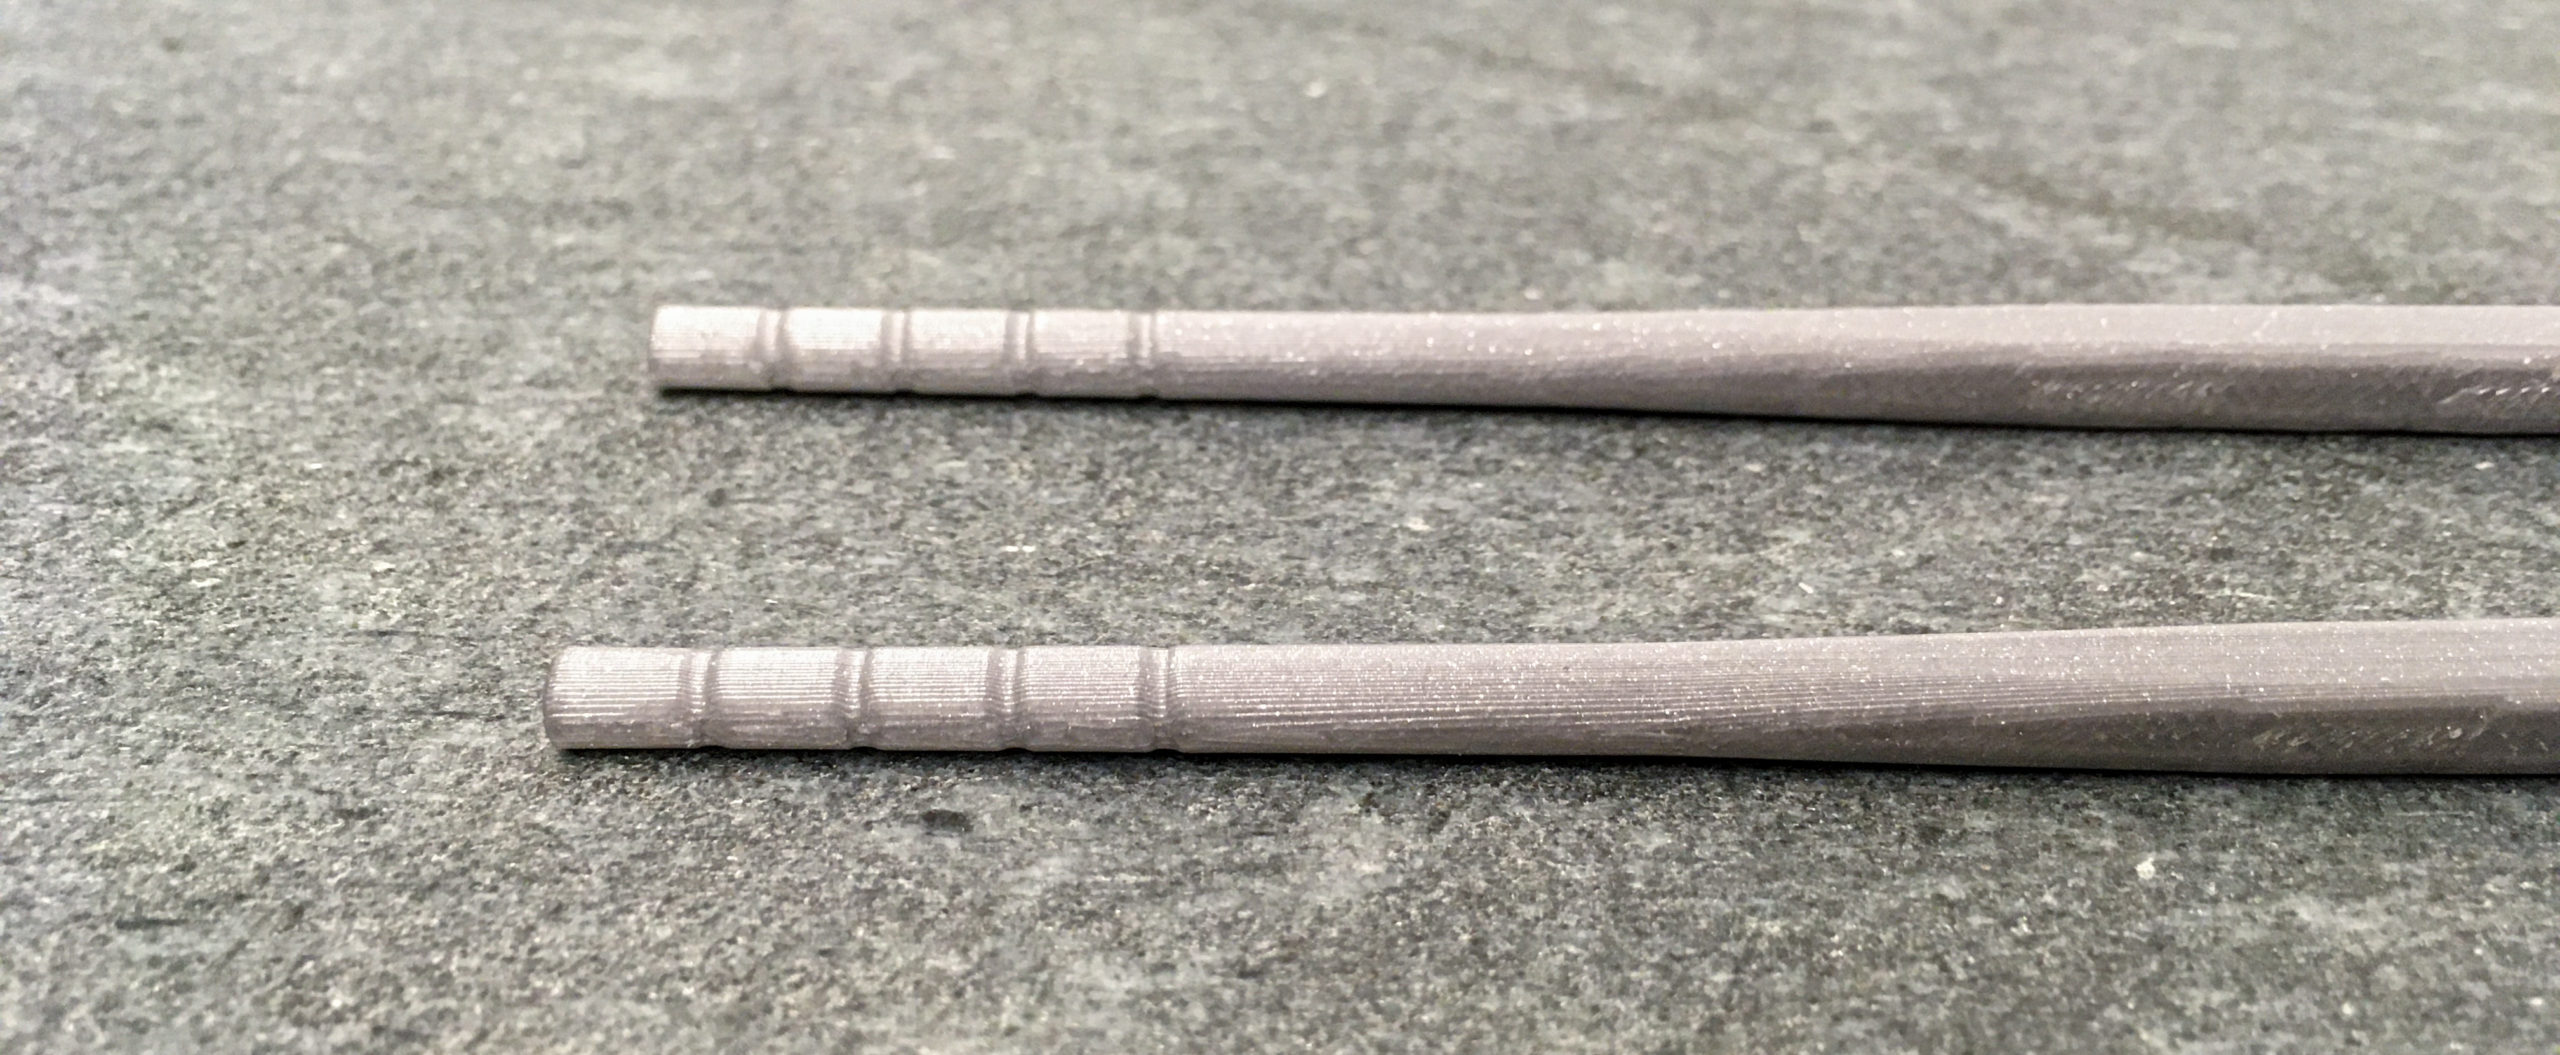
That’s right. Advanced Marcosticks (model A) are plain chopsticks. Once you graduate from other training marcosticks, you’ll be using the advanced model. You’ll find these aplenty online. We recommend square Japanese chopsticks, because they work best for Standard Grip, as explained here.
But you are welcome to grab our 3D models and print them yourselves on your 3D printers.
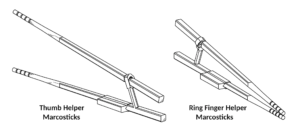
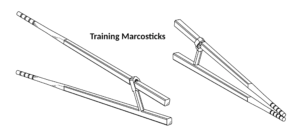
To learn more about various learner and training tools marcosticks.org makes available, check out Training Marcosticks That Work. For other learner and training tools, consult the catalog at the 3D-printing page.
Table of Contents
How they are designed
In addition to square chopsticks, we also make available models with hexagonal and octagonal cross sections. We don’t find these very useful, because the closer a chopstick approaches a cylinder, the more useless it becomes, with respect to the planetary gear train action. There is a reason why slippery, metallic chopsticks are extremely difficult to use.
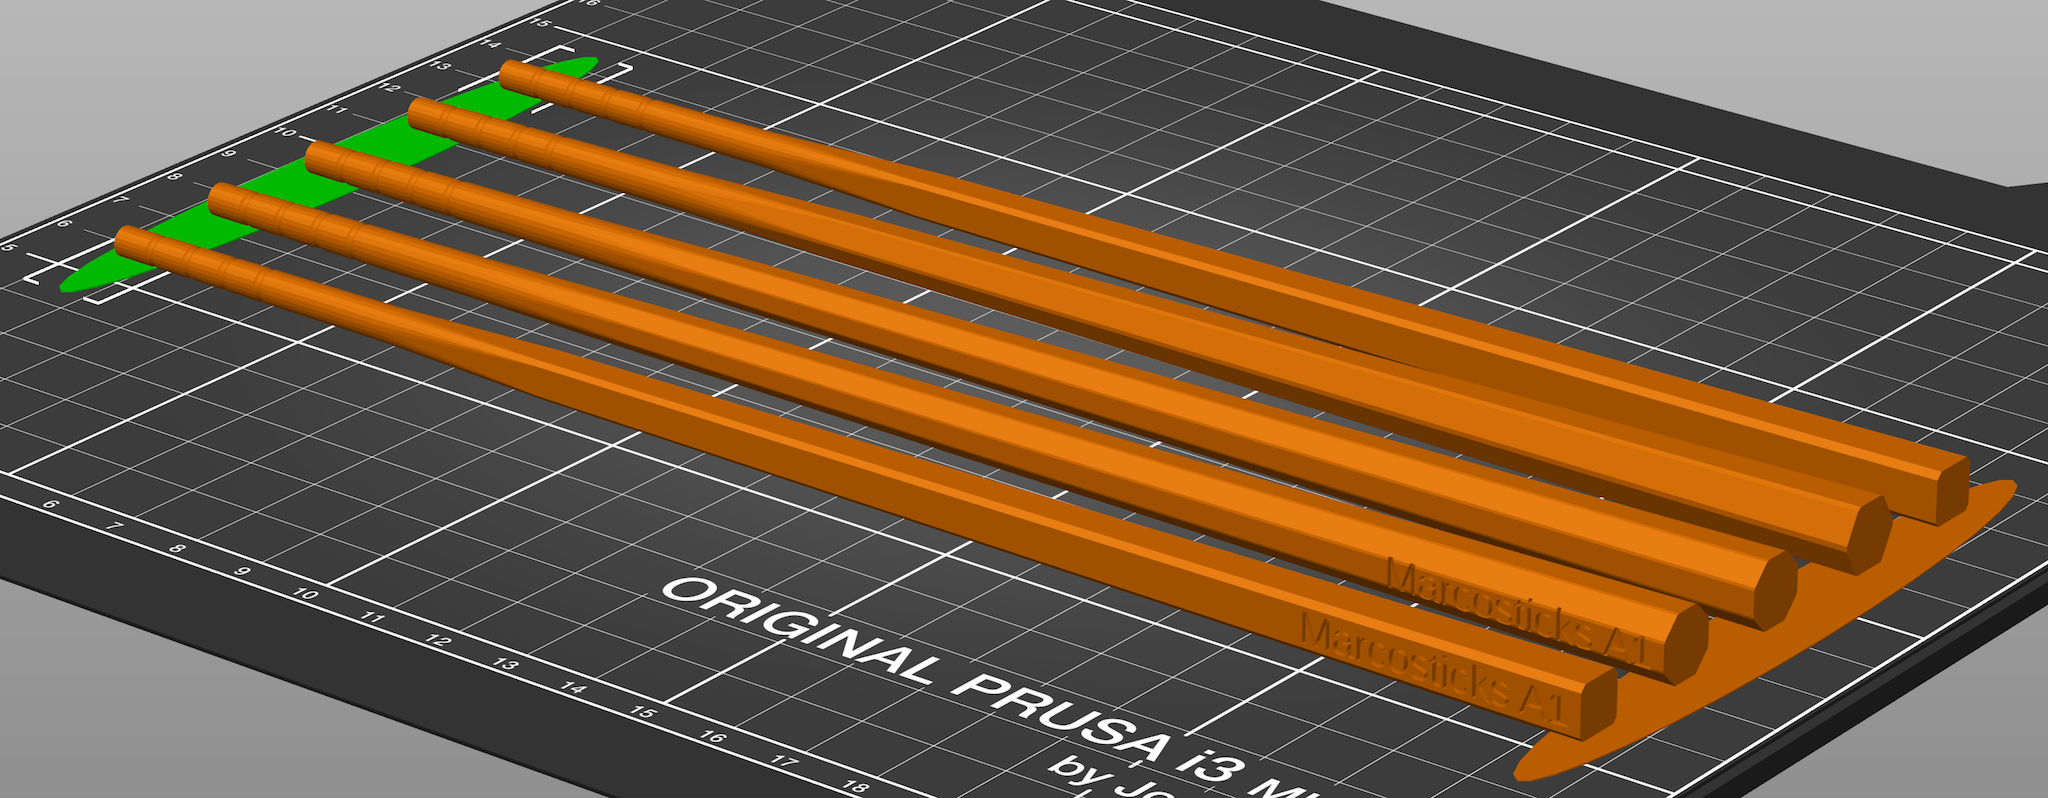
Download 3D models
Download this ZIP file: A1 Advanced Marcosticks – M22 PLA.
You will also find the square chopsticks in the C1 Combo PLA file.
3D printing instructions
Print in PLA – it’s stiff enough for chopsticks.
The 3MF files are PrusaSlicer projects, with our own printer settings for start-up GCODE, for MKS3. It warms up the nozzle before attempting to do print bed calibration. It takes a bit longer than the built-in start-up sequence. But it does a better job. It also reduces filament oozing before printing starts. It has a custom wipe routine to clean the nozzle before the first line is put down. If you don’t like it, you can simply reset printer settings to your own default.
The STL files can be used direct in your own preferred slicer, if you don’t find the 3MF files useful, or you are not using a Prusa printer.
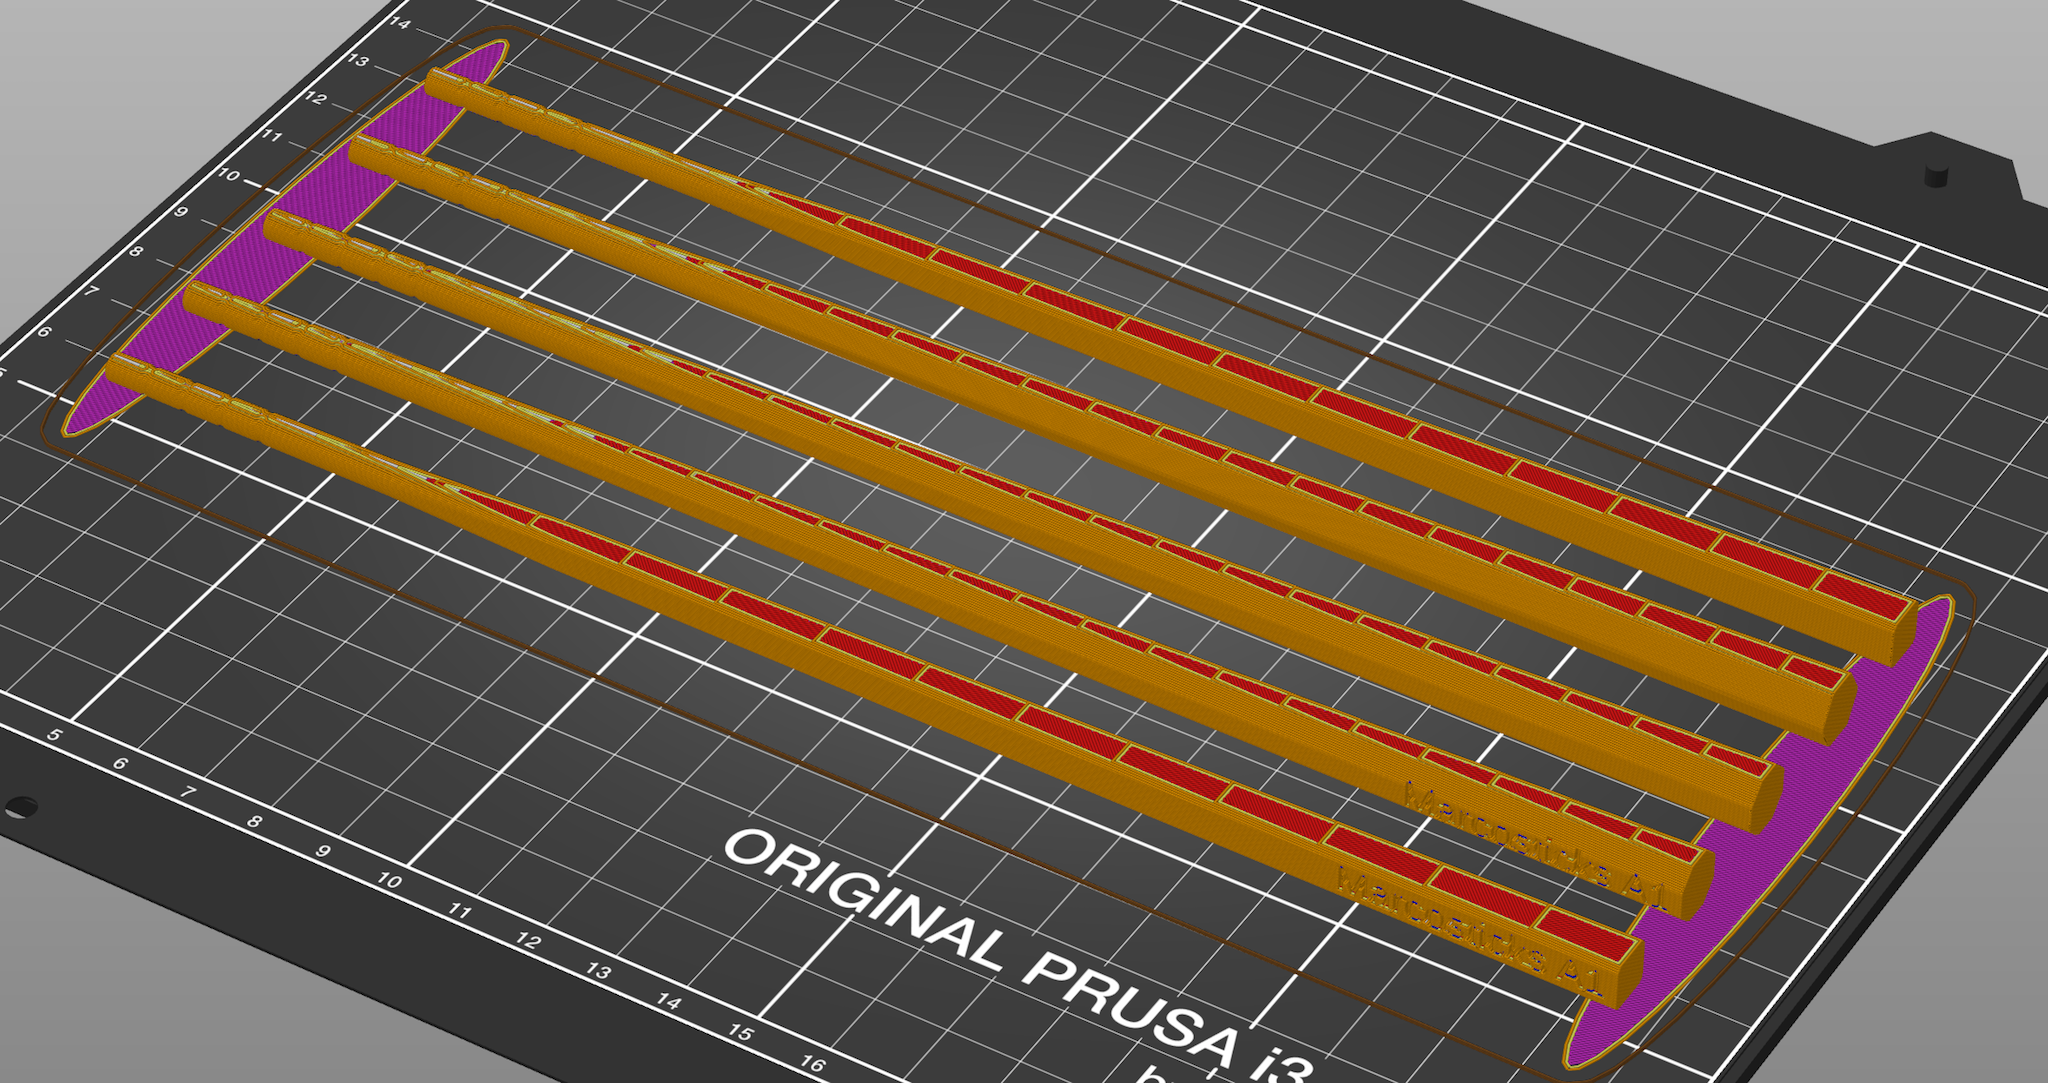
Set layer height to 0.20mm. You can use finer layers, if you really wish to. But 0.20mm works fines, and prints faster.
Enable “Detect bridging parameters” in PrusaSlicer, or the equivalent in your slicer. Some parts of chopsticks require bridging work. By enabling this feature, you direct your slicer to pay special attention to areas that require bridging, for a better printed product.
Add oval brims at strategic locations, to ensure that chopsticks do not warp off the print bed during printing. Brims can be easily trimmed with scissors, a flush cutter, or a deburring tool during post-processing.
Most marcosticks models require 100% infill, if you want sticks to be stiff enough for practice.
Post-print processing
The following video talks about post-print processing of training marcosticks. But the deburring section will be useful for advanced marcosticks as well. For advanced marcosticks, you only need to trim off brims with the deburring tool, if you printed the model with brims as we recommend.
You should not use 3D-printed objects in real eating situations, without understanding food-grade filaments and food-safe coatings. Make sure you read information about the topic on the page 3D-print Your Own Marcosticks, before you attempt to use 3D-printed chopsticks to eat anything. We recommend that you only rehearse the Standard Grip with printed chopsticks, if you do not know how to make them safe for actual eating.