Last Updated on January 30, 2022 by Staff
Do you experience chopstick cramp while using chopsticks? Finger Helpers address this underreported issue that plagues a large population of users.
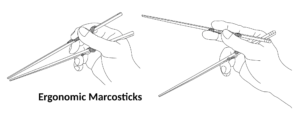
Finger helper bars are designed for beginners, and for a sizable population who cannot enact unaided the Caswellian thumb pose required by the Standard Grip. The latter population are inherently unable to wield the the Standard Grip, due to injuries or anatomical limitations.
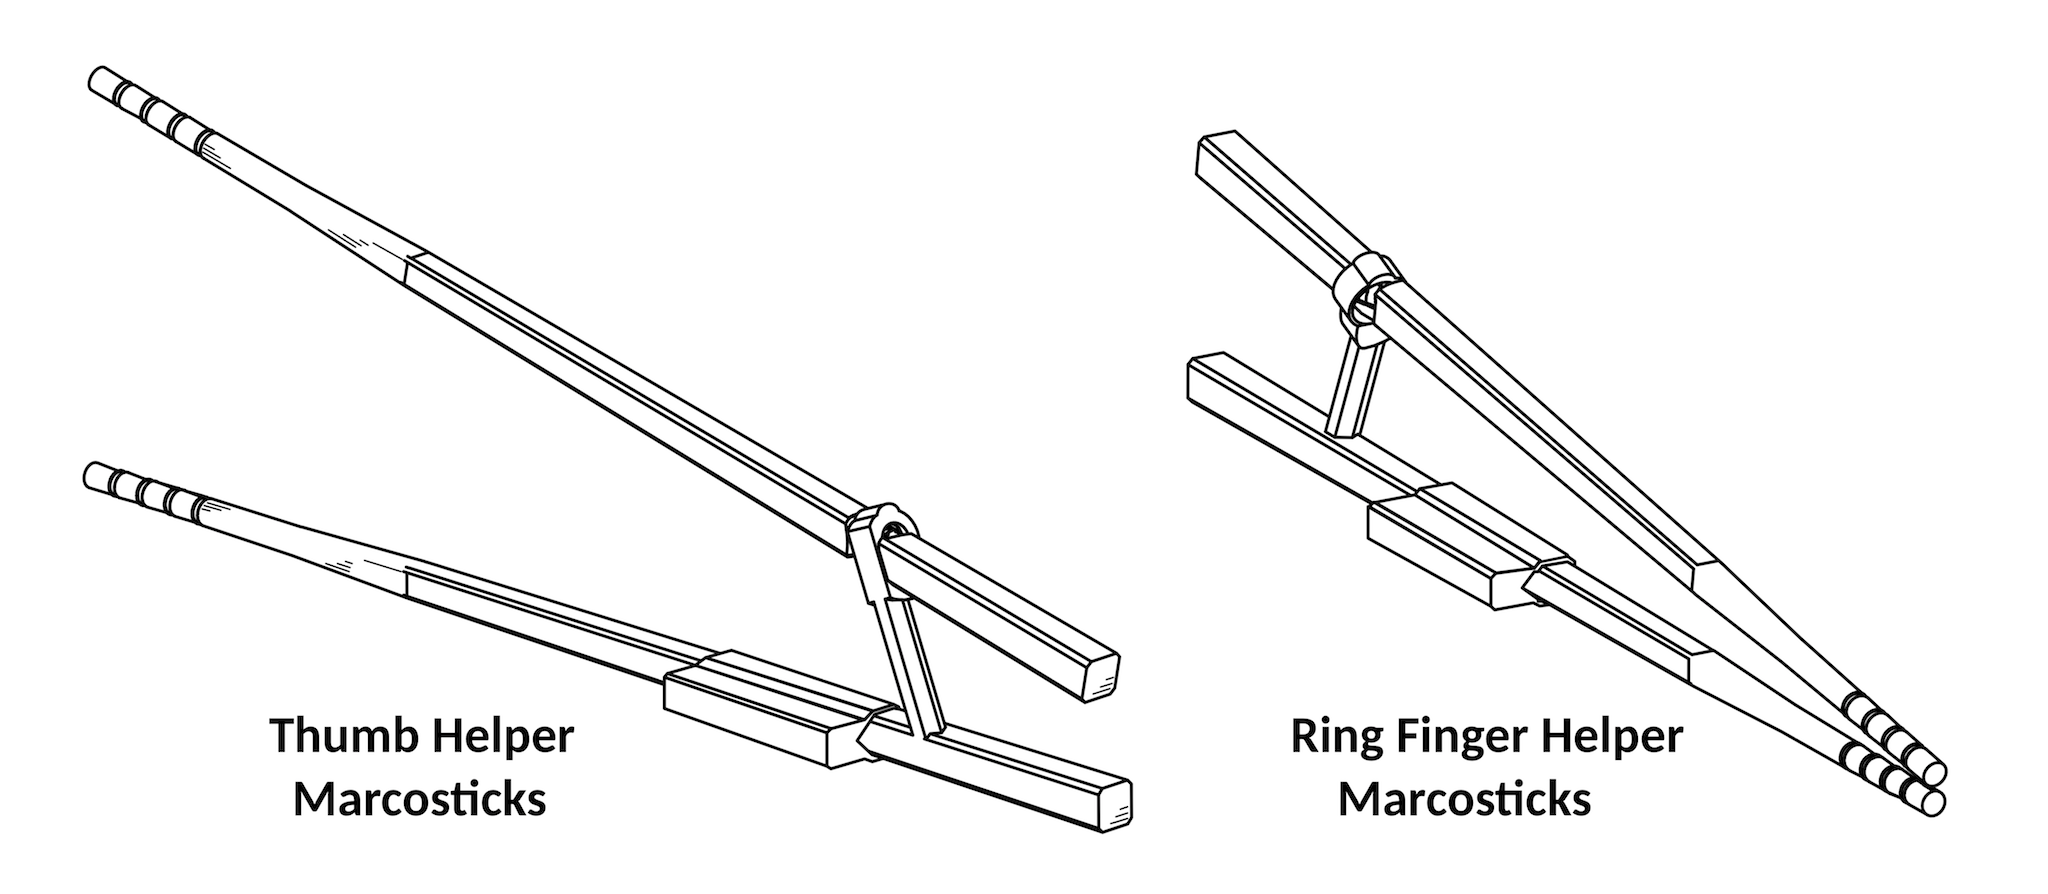
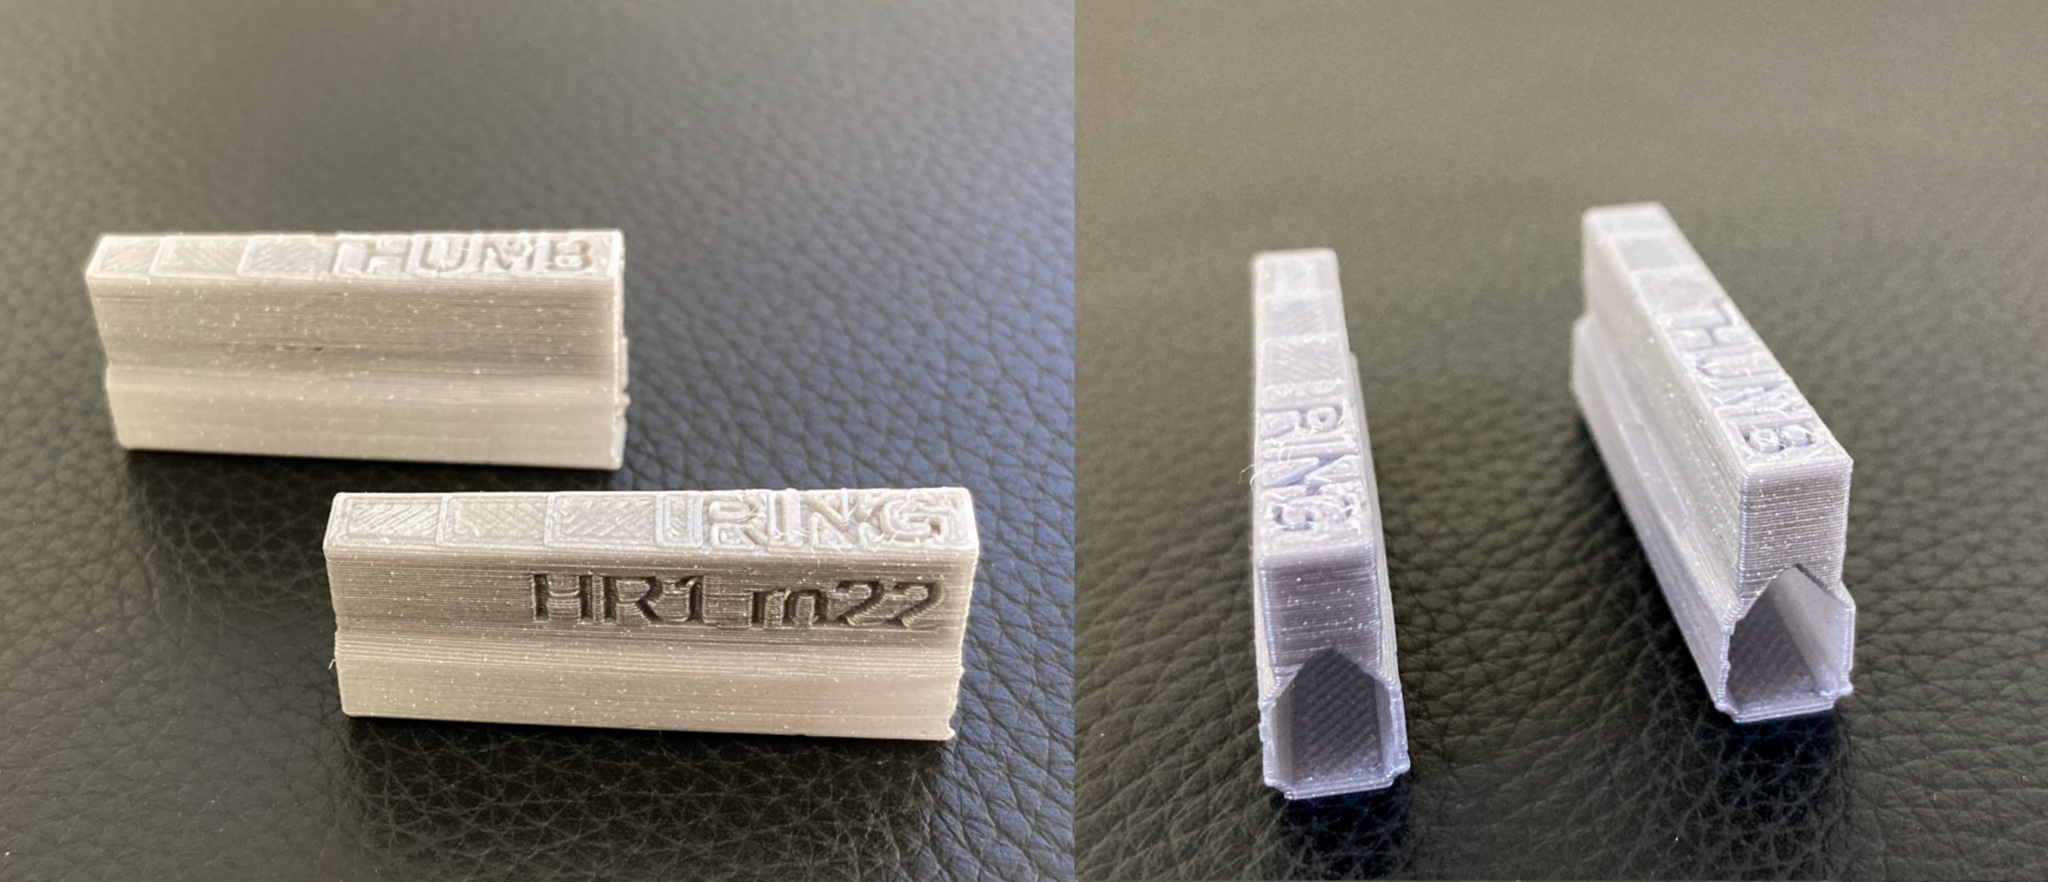
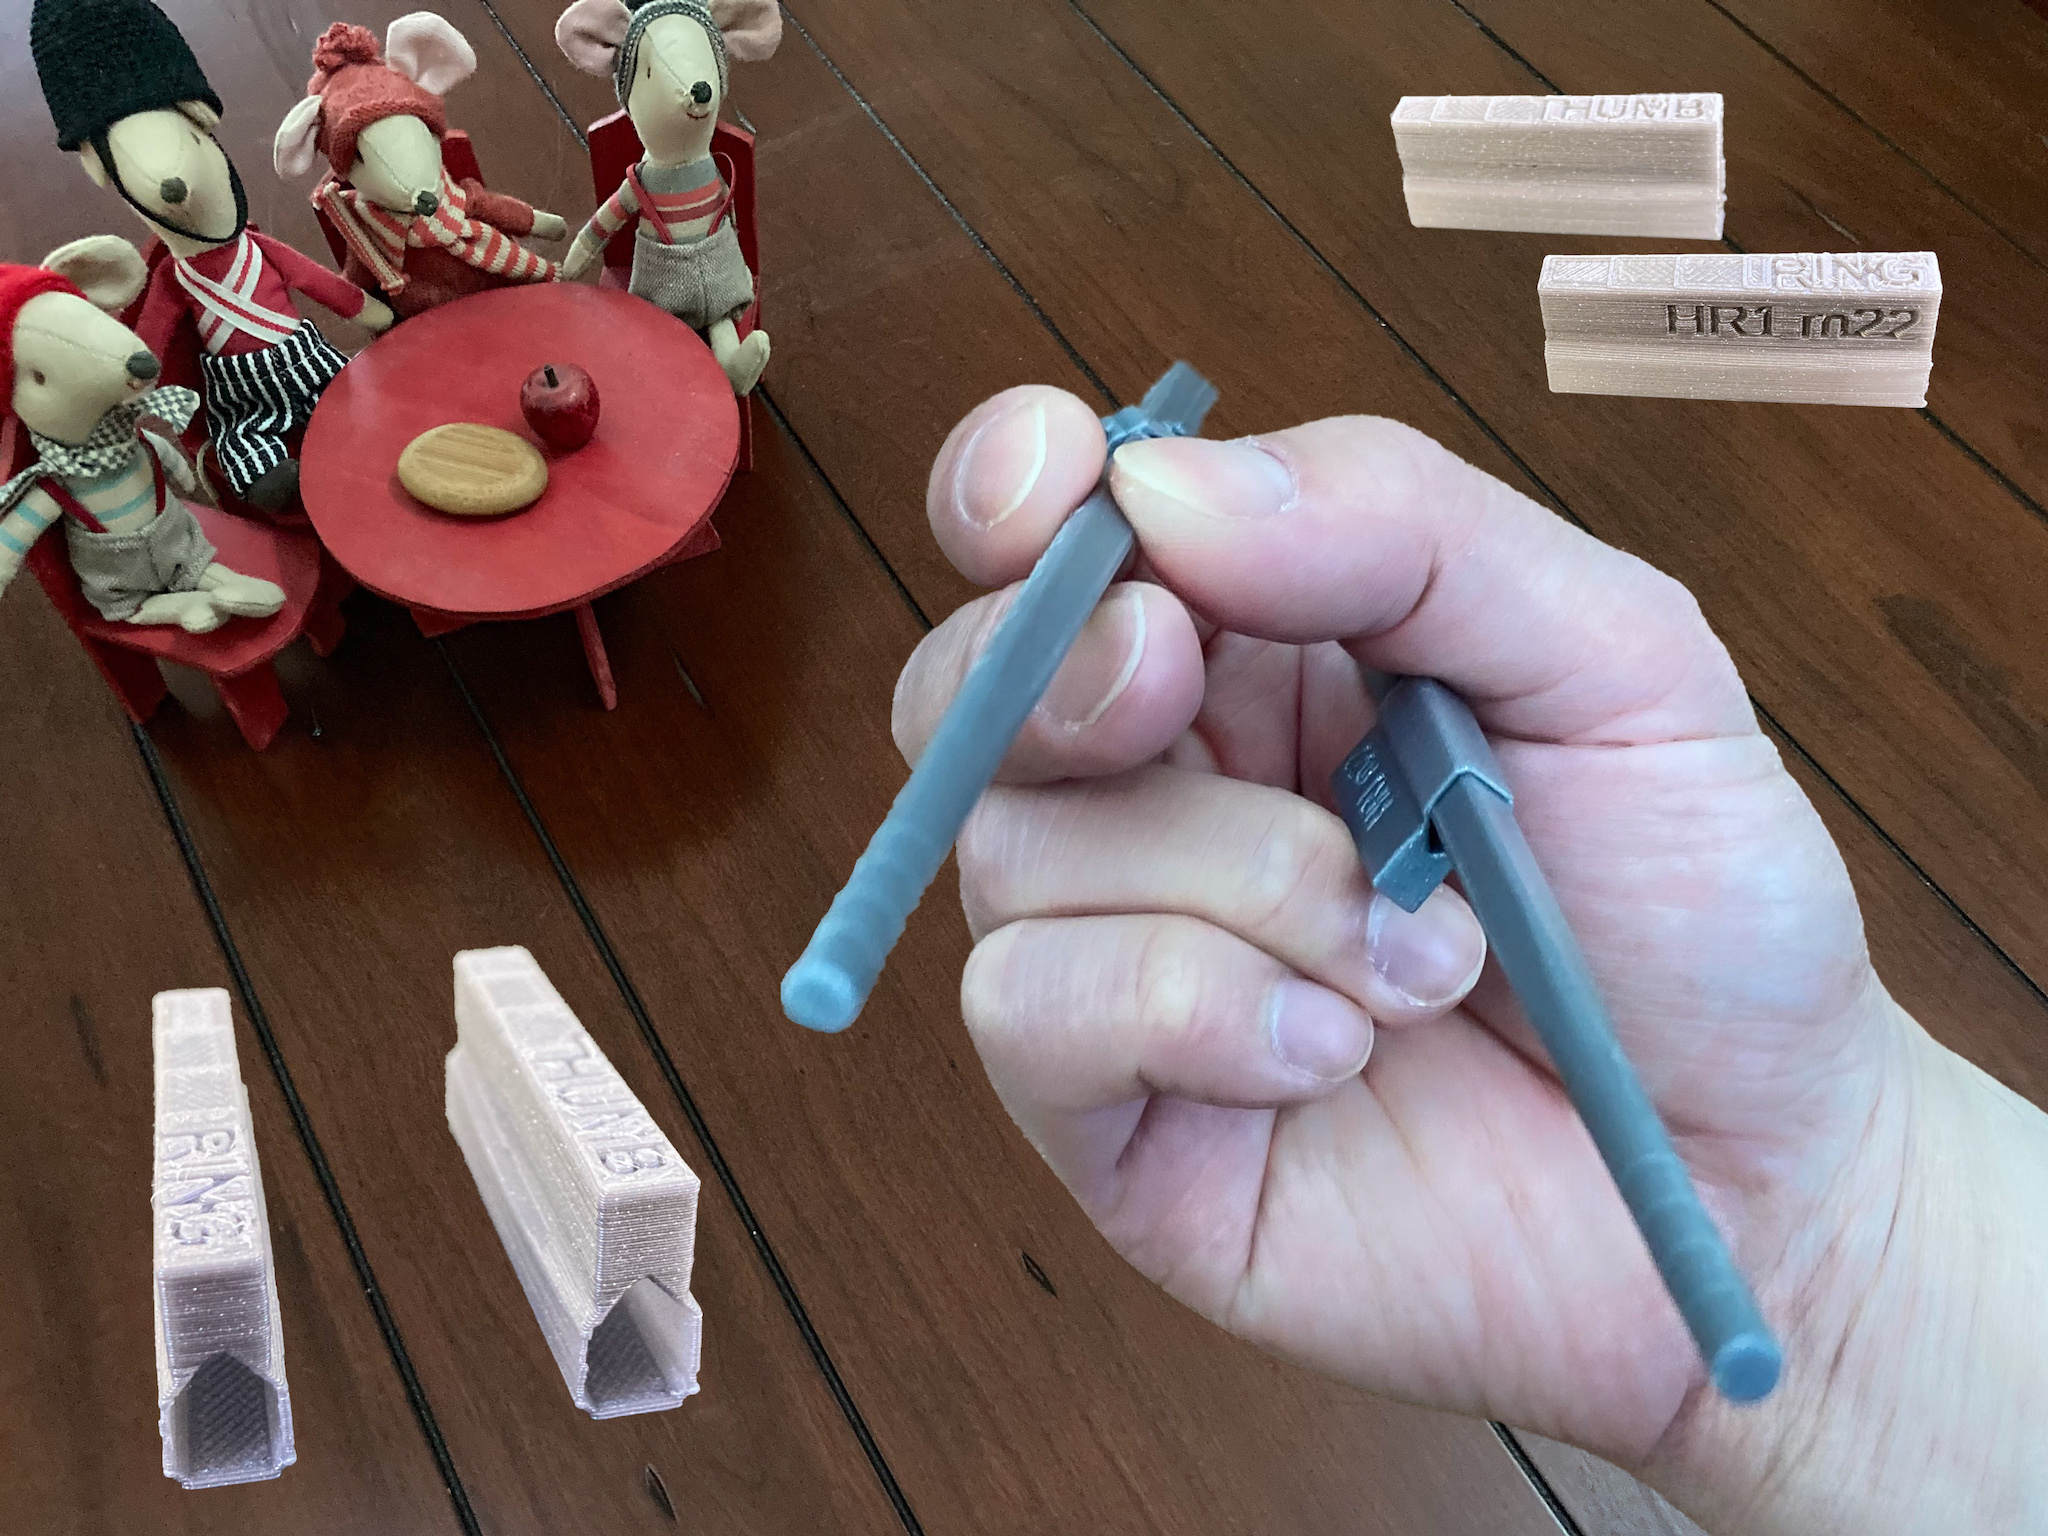
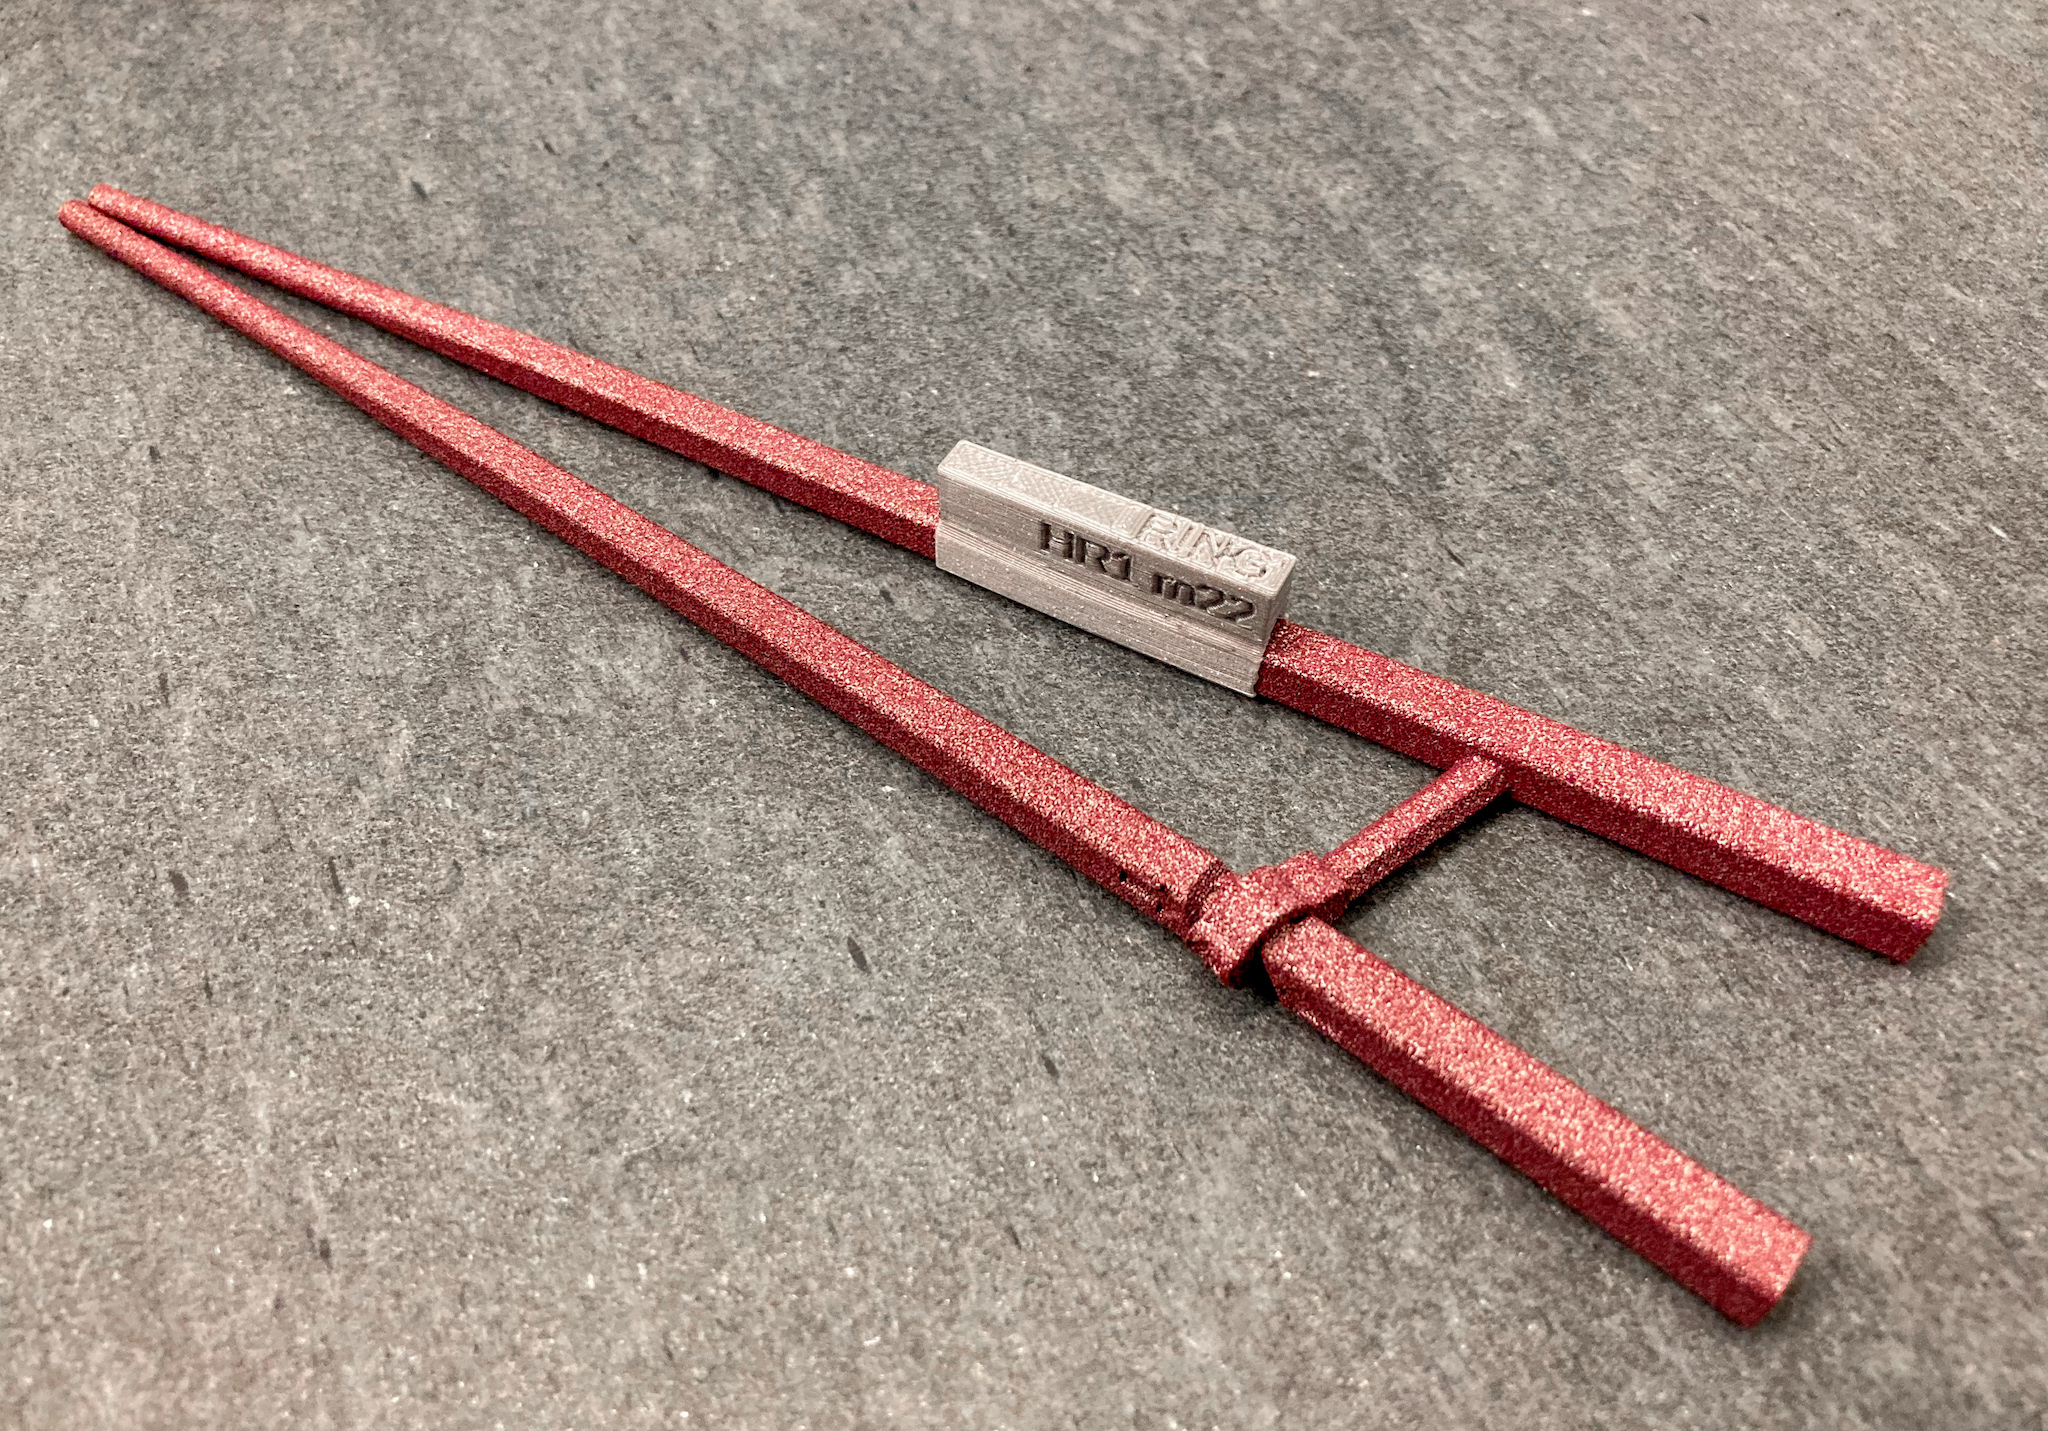
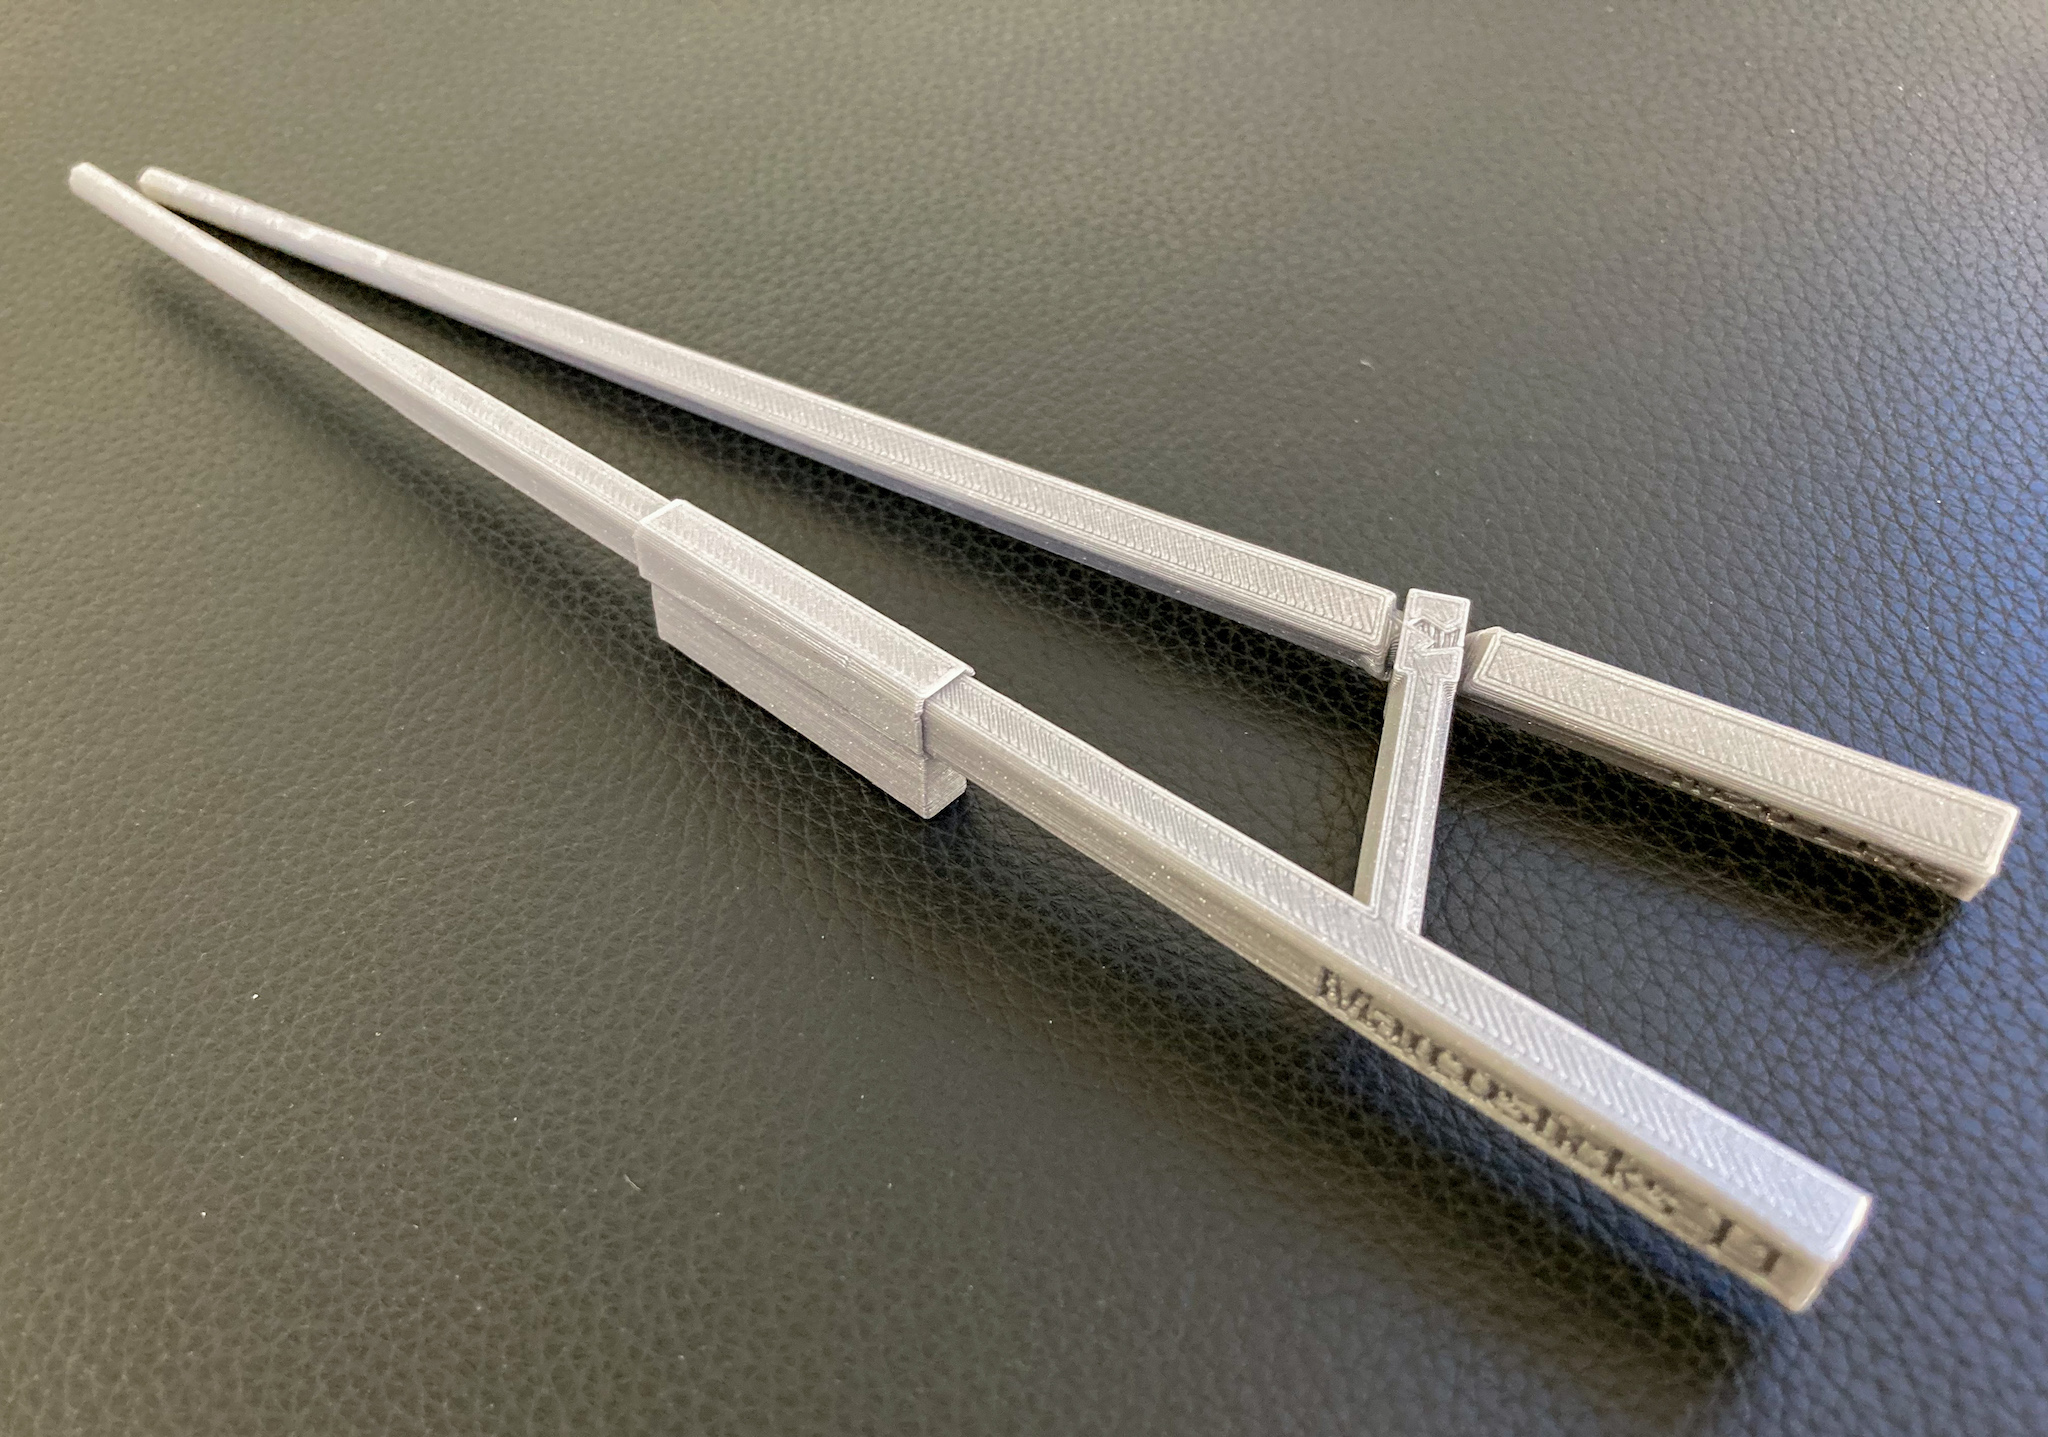
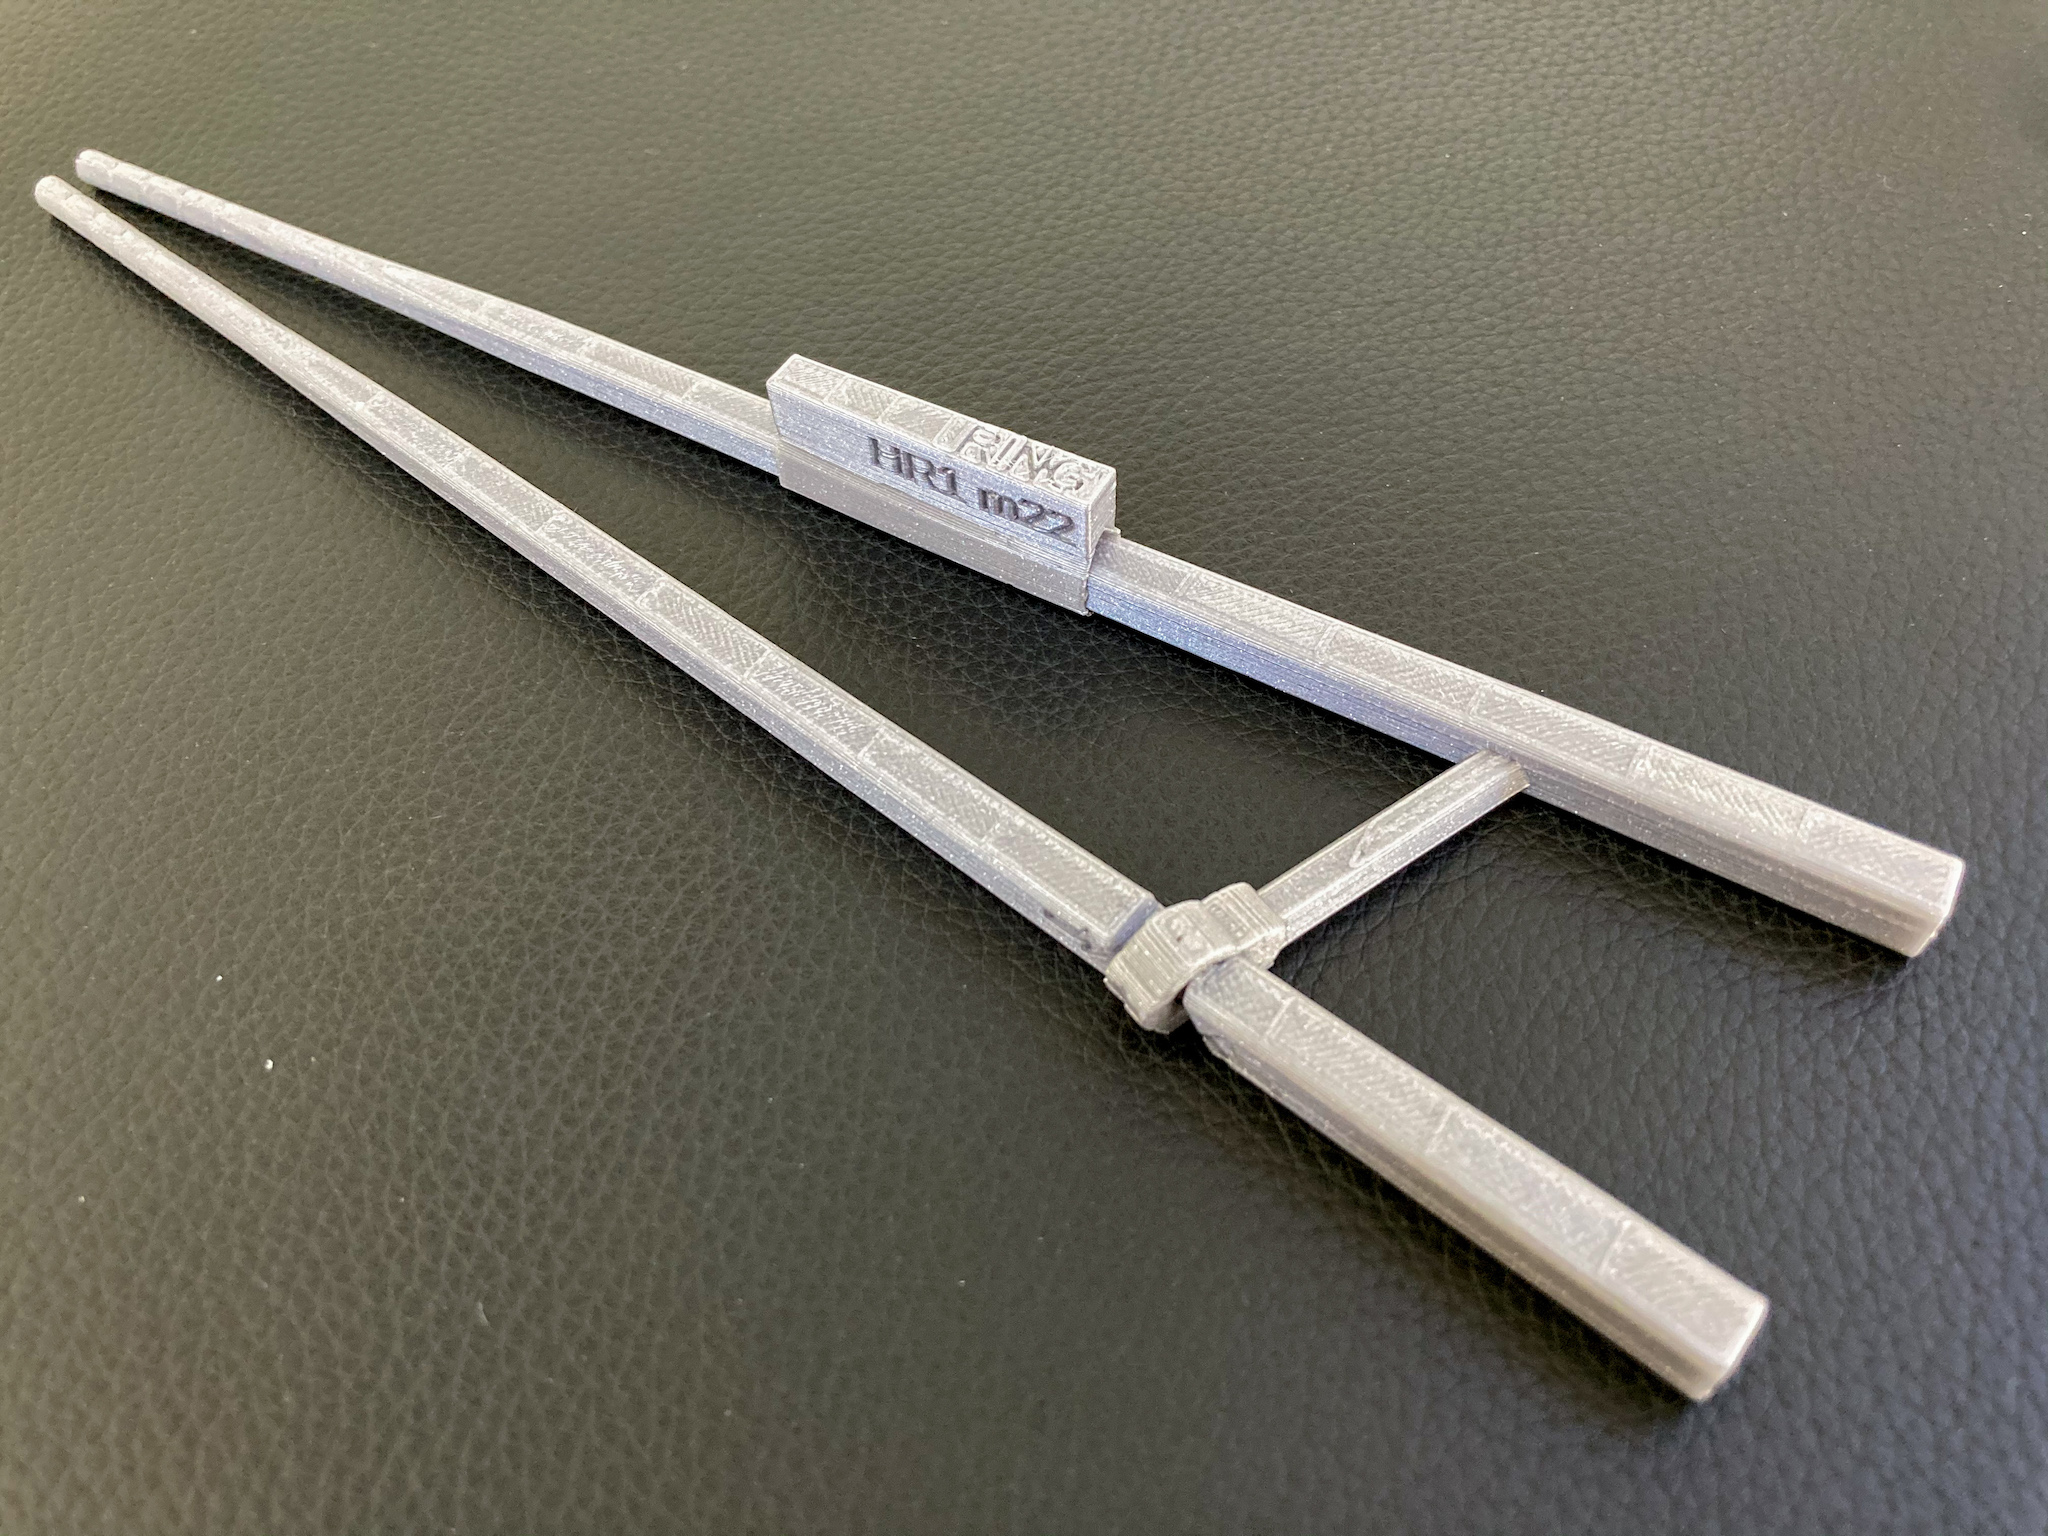
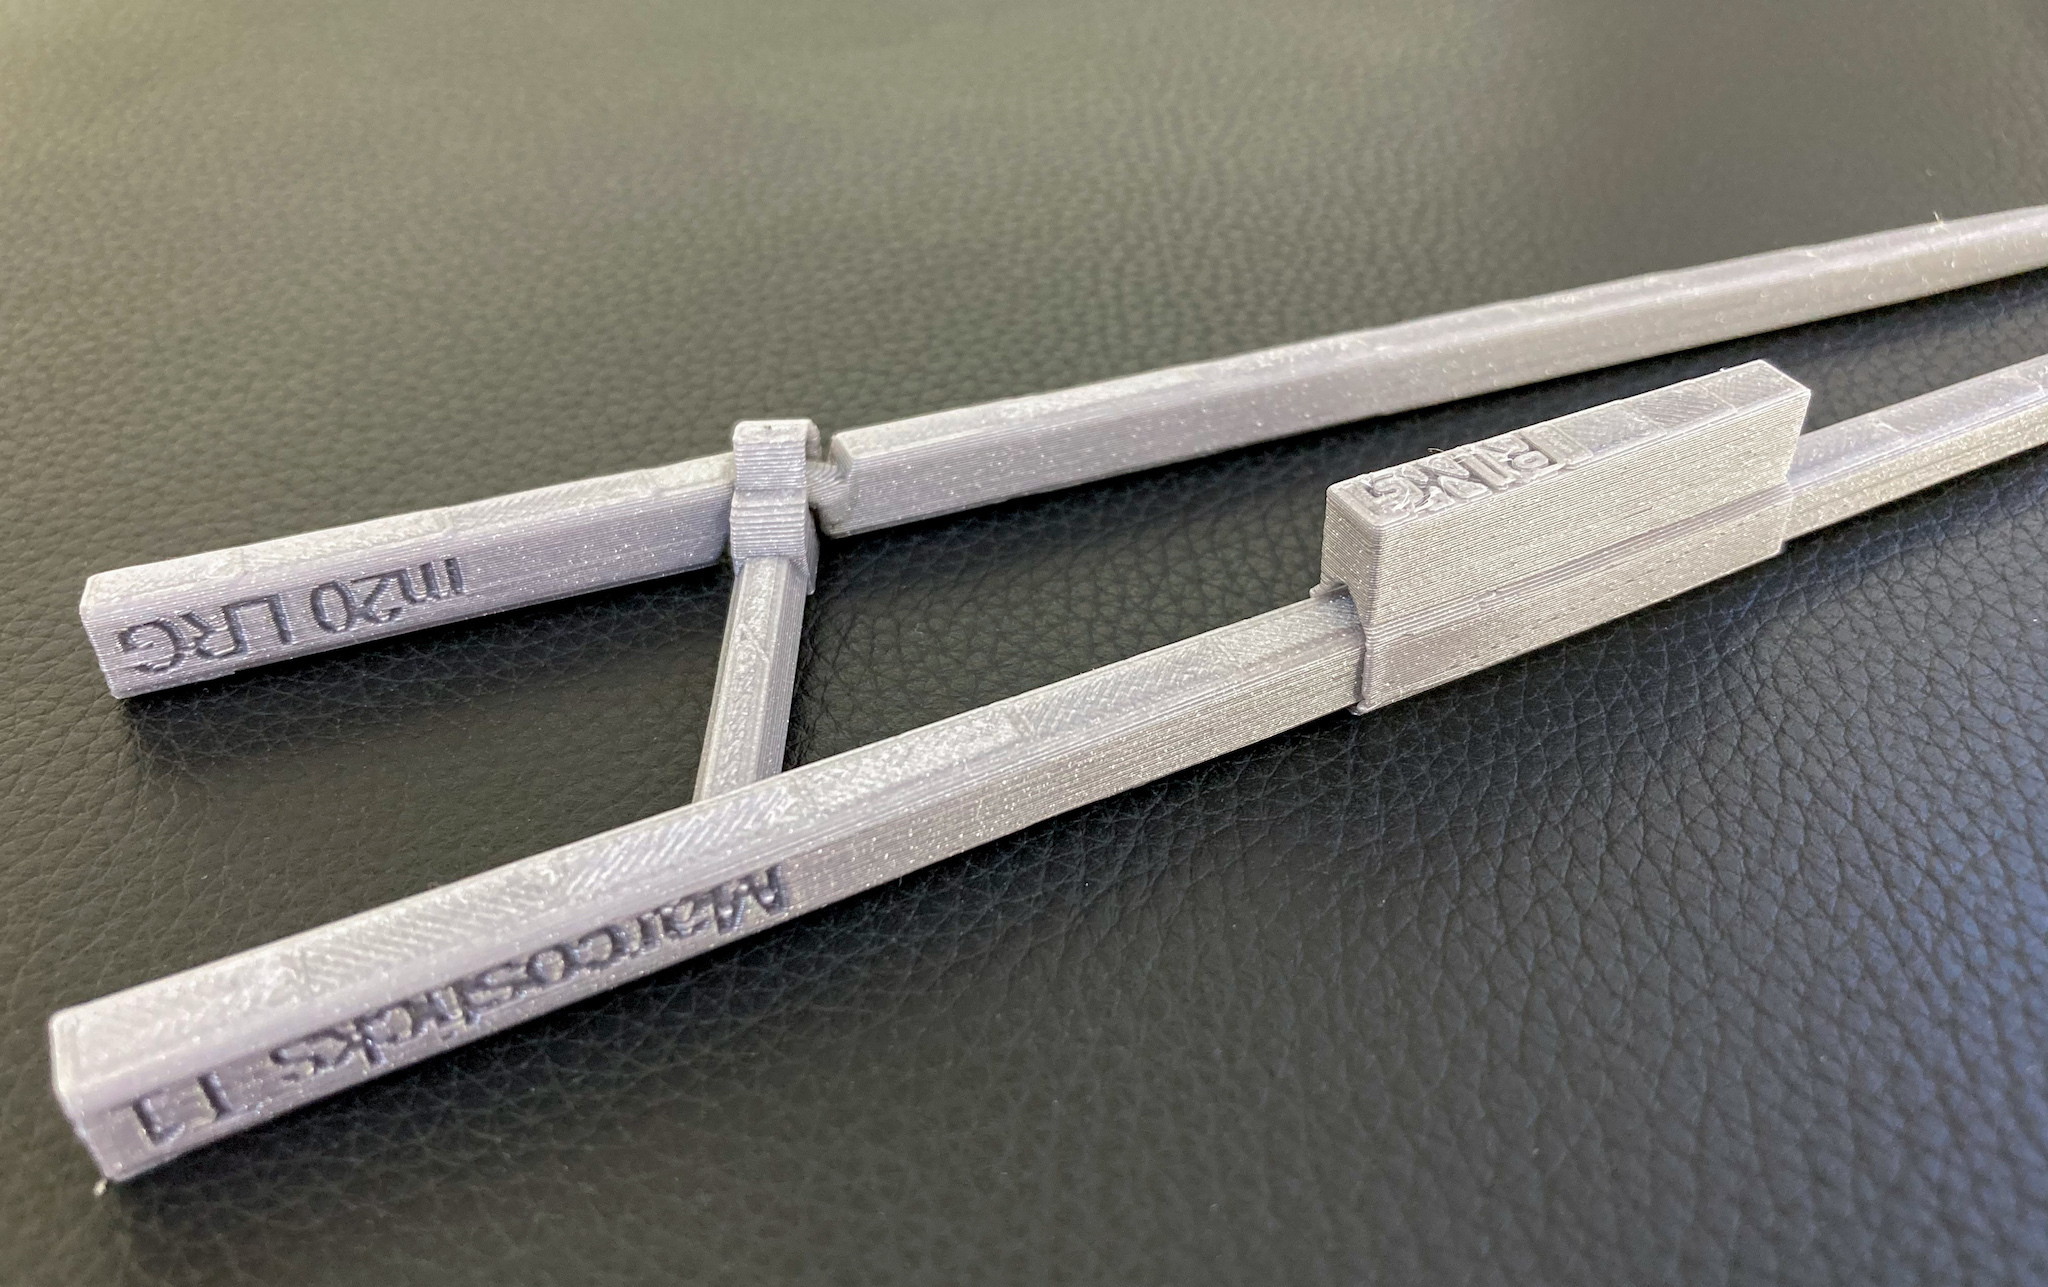
Two flavors of helper bars are available: the Ring Finger Helper (model HR), and the Thumb Helper (model HT). These bars come in a sleeve that slides into a chopstick. They can be used with any flavors of Training Marcosticks (model T).
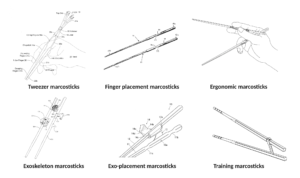
To learn more about various learner and training tools marcosticks.org makes freely available, check out Training Marcosticks That Work. For other learner and training tools, consult the catalog at the 3D-printing page. You may 3d-print them yourself, even though these training tools are covered by issued patents or pending patent applications.
Table of Contents
How they help you
Following is a video clip of a user who were never able to wield the Standard Grip all his life, until he tried the Ring Finger Helper.
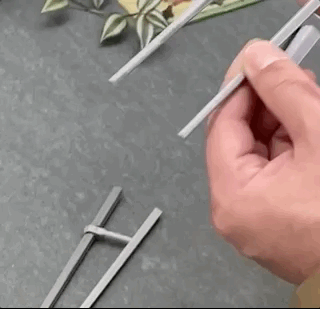
This user could not hold the bottom chopstick using the 1-on-2-support thumb pose, in the past, because of personal anatomical limitations in his finger muscles. With the Ring Finger Helper, he can now secure the bottom chopstick.
Most people can enact common hand gestures shown in FIG. 4A and FIG. 4B, found below. They show, respectively, the “thumbs-up” gesture, and the “closed-fist” gesture. The two thumb poses in these two gestures come naturally to most people.
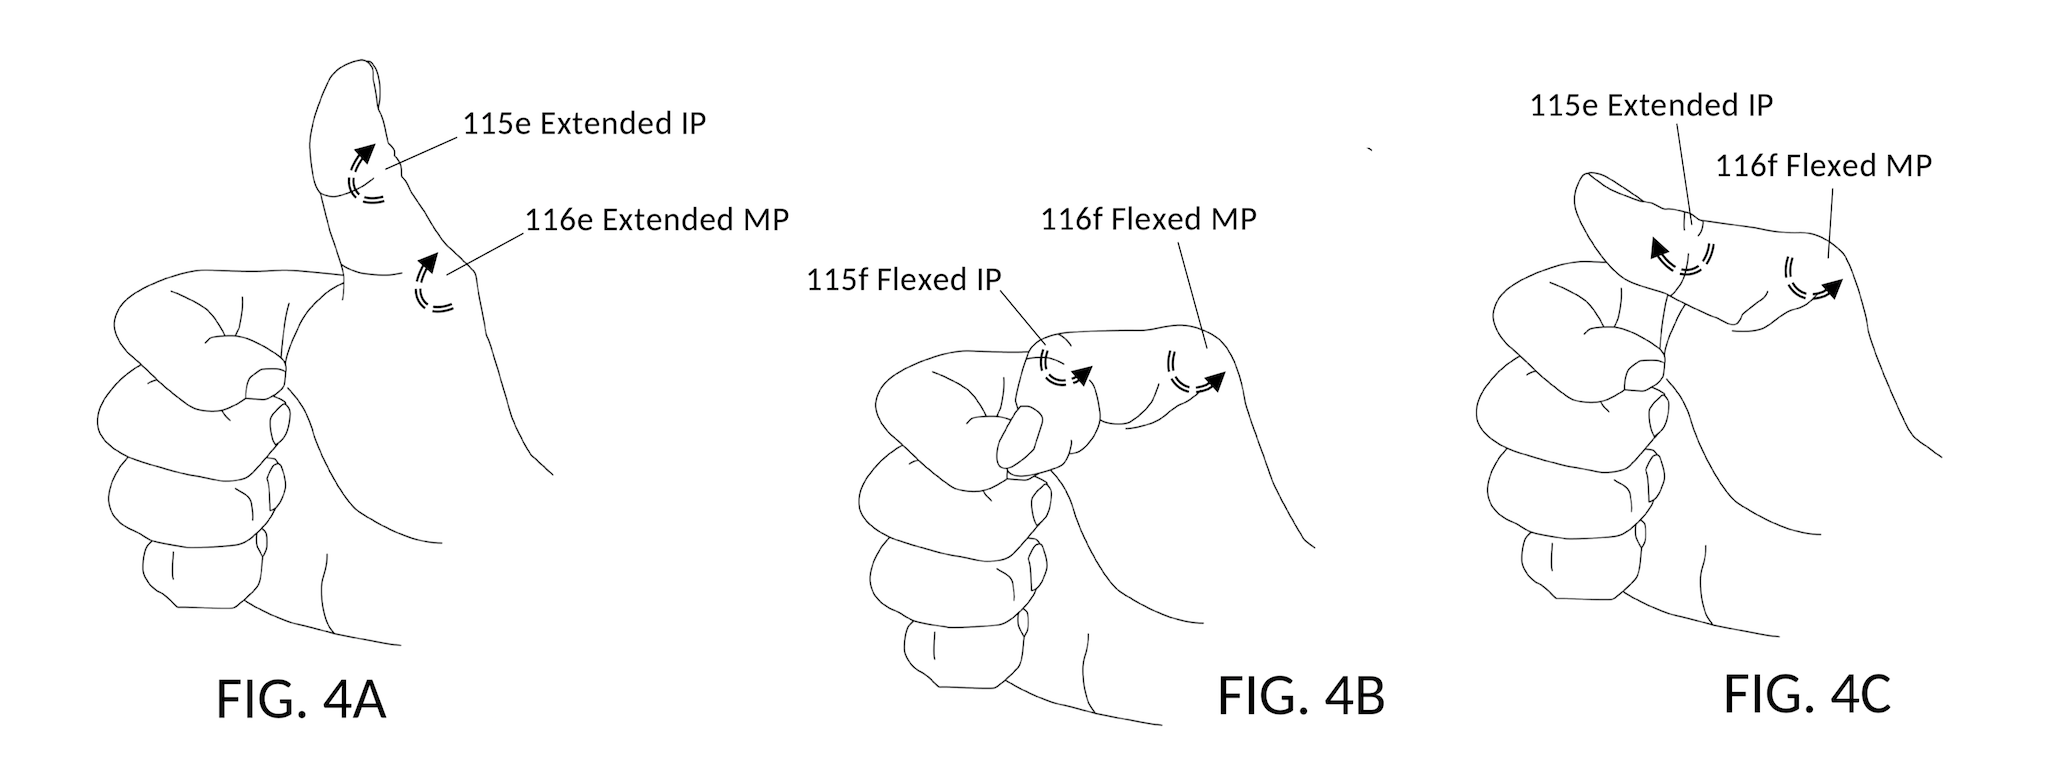
However, a sizable population cannot enact the unnatural thumb pose shown in FIG. 4C. This unnatural thumb pose is, unfortunately, the Caswellian thumb required for a human hand to secure the bottom chopstick, while the same hand manipulates the top chopstick.
Many life-long chopsticks users are ridiculed by their peers for not being able to use the Standard Grip. Some went to their graves still puzzled over why they could never master the Standard Grip.
Some manage to find alternative grips that come very close to Standard Grip, such as the Count-to-4 grip. These alternative grips allow them manipulate the top chopstick with a bent thumb.
For some of them, this undiagnosed Caswellian thumb condition might have been the reason. And finger helper bars could have been the answer.
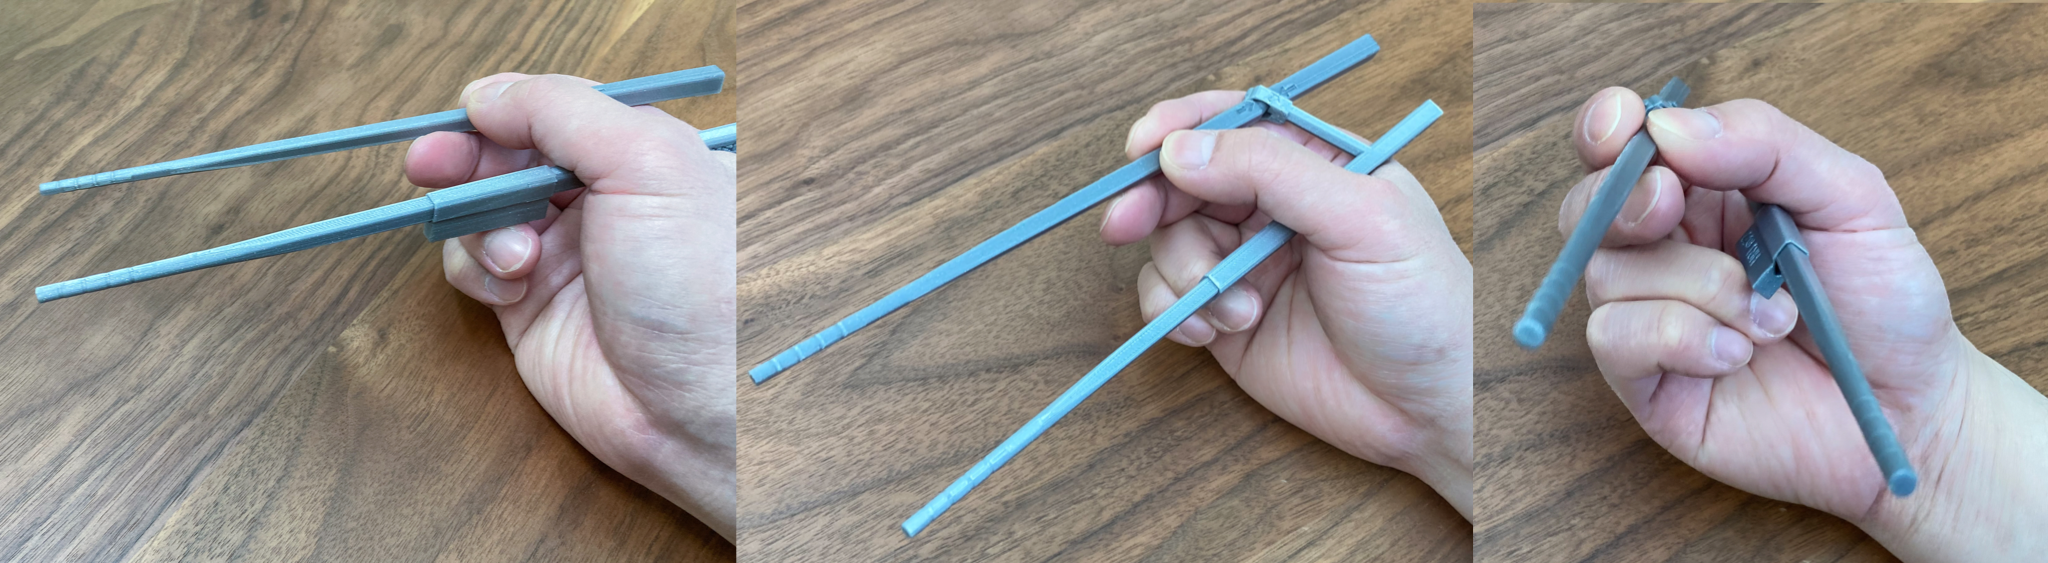
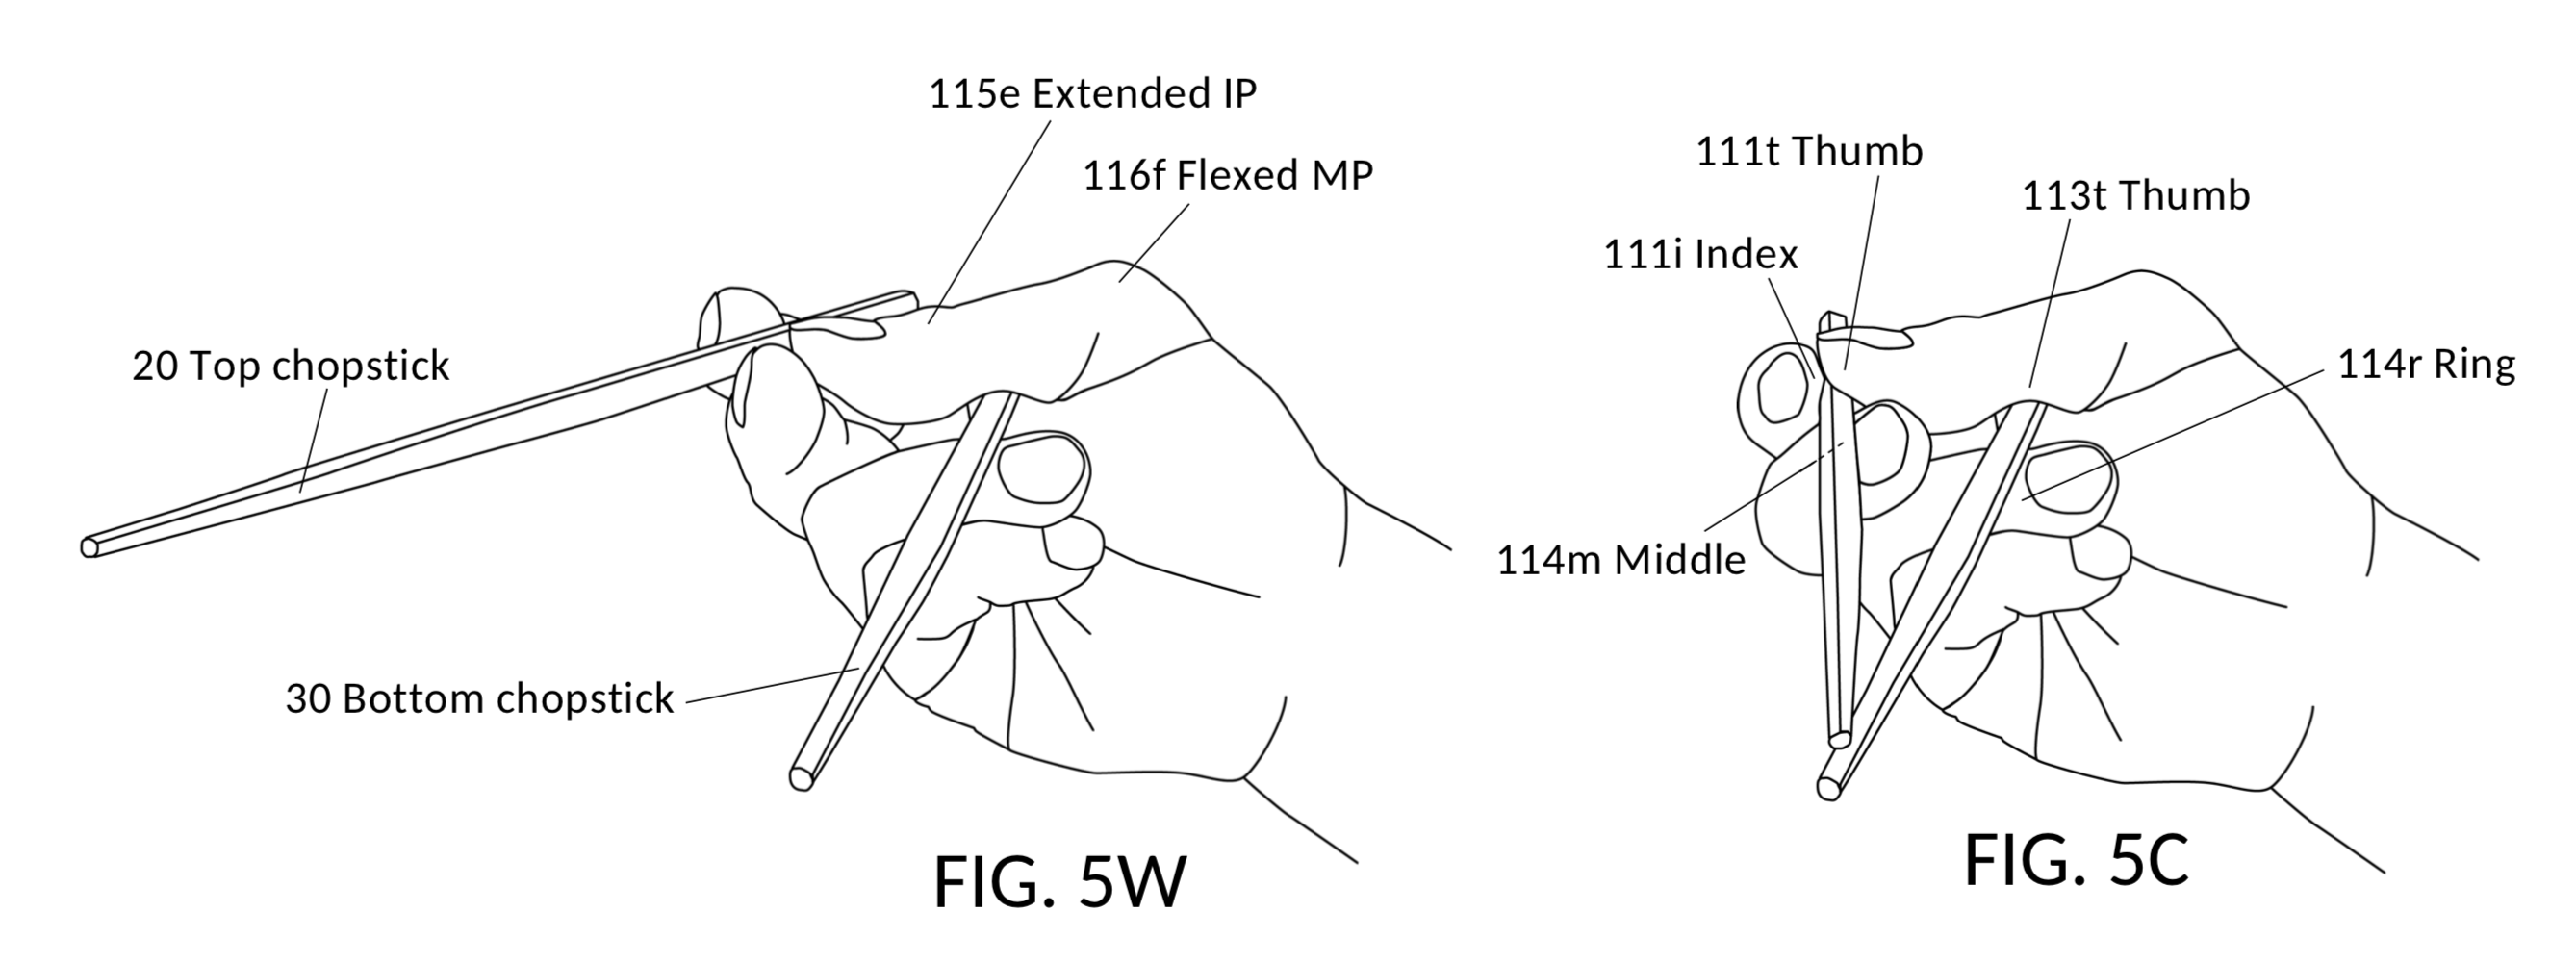
Pictures above illustrate how a helper bar creates distance between the thumb and the ring finger. It allows the thumb to remain in the “closed-fist” pose which most people can manage. With the helper bar, the bent thumb is now able to secure the bottom chopstick using the 1-on-2-support mechanism.
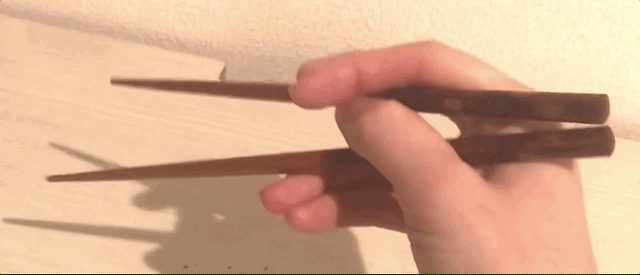
In short, the helper bar allows a learner to stop worrying about securing the bottom chopstick. Thus, the bar is also a useful aid for learners who don’t actually have anatomical limitations. A learner initially leans on the bar as a crutch, to secure the bottom chopstick. The learner can then focus instead, on twirling the top chopstick with the tripod hold.
Used with model T
Finger helper bars are printed with a sleeve suitable for use on model T Training Marcosticks. In general, use the “Large” version of model T with finger helper bars.

Download 3D models
Download this file: H1 Finger Helpers on Marcosticks – M22 PLA.
You will also find finger helpers in the C1 Combo PLA file.
Finger helper models can also be found at Thingiverse: 4682900.
3D printing instructions
Print in PLA – it’s stiff enough for chopsticks.
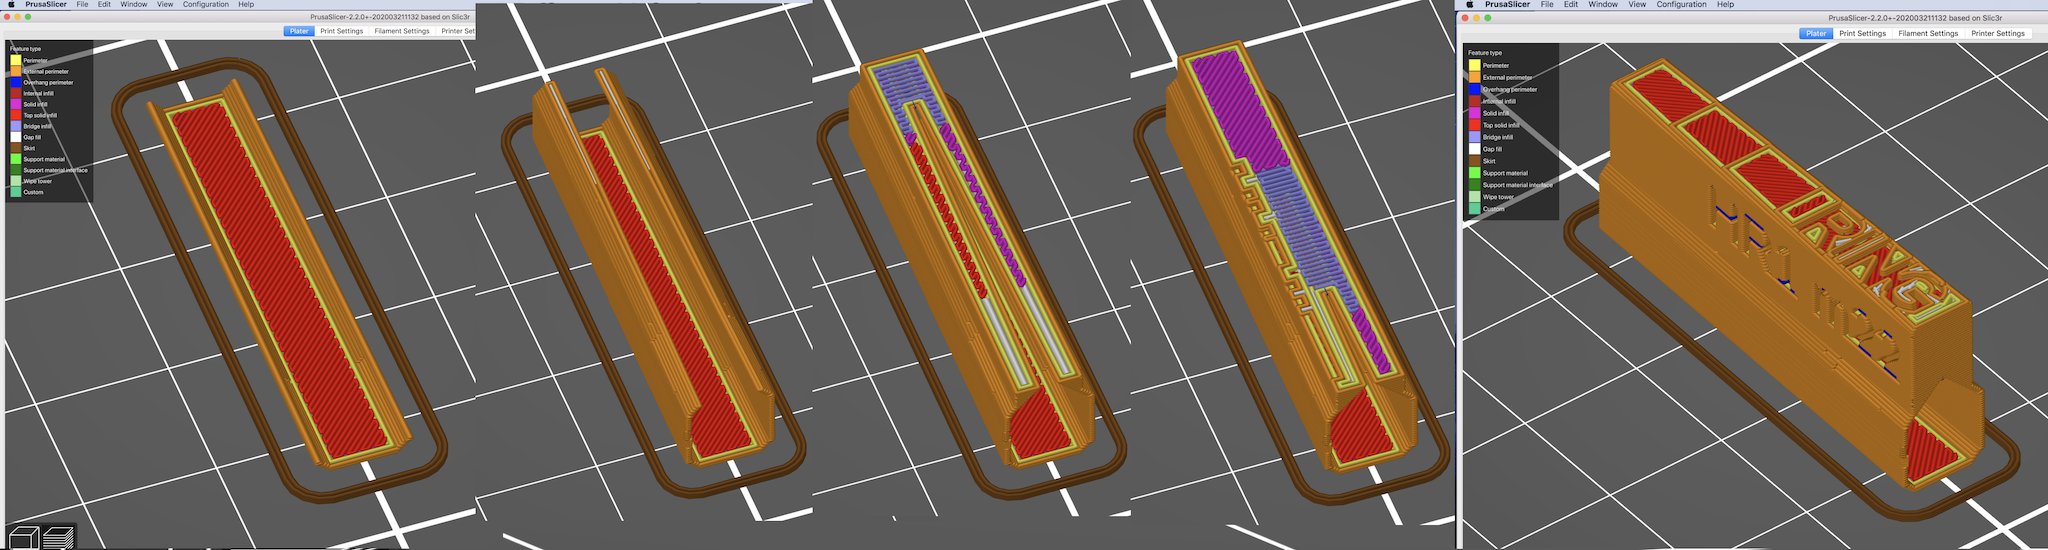
The 3MF files are PrusaSlicer projects, with our own printer settings for start-up GCODE, for MKS3. It warms up the nozzle before attempting to do print bed calibration. It takes a bit longer than the built-in start-up sequence. But it does a better job. It also reduces filament oozing before printing starts. It has a custom wipe routine to clean the nozzle before the first line is put down. If you don’t like it, you can simply reset printer settings to your own default.
The STL files can be used direct in your own preferred slicer, if you don’t find the 3MF files useful, or you are not using a Prusa printer.
Set layer height to 0.20mm. You can use finer layers, if you really wish to. But 0.20mm works fines, and prints faster.
Enable “Detect bridging parameters” in PrusaSlicer, or the equivalent in your slicer. Some parts of marcosticks require bridging work. By enabling this feature, you direct your slicer to pay special attention to areas that require bridging, for a better printed product.
Enable “Detect thin walls” in PrusaSlicer, or the equivalent in your slicer. Without this setting, PrusaSlicer will always use 2 perimeters (one outside and one inside), for all walls. The finger helper has a thin wall. If you slice it to print 2 perimeters, the sleeve will become too thick. Turning this on instructs the slicer to produce only one perimeter for the thin walls in this model.
Most marcosticks models require 100% infill, if you want sticks to be stiff enough for practice. But the finger helpers are an exception. They can be printed with 20% infill if you want to reduce their weight. But 100% also works.
Post-print processing
The ends of a printed sleeve will be ragged. Such ragged edges on the inside wall of the sleeve will cause the sleeve not slide all the way into a chopstick, to its intended target location. Use a deburring tool to clean inside edges of both ends of the sleeve.
The following video talks about post-print processing of training marcosticks. But the deburring section will be useful for the finger helpers as well.
You should not use 3D-printed objects in real eating situations, without understanding food-grade filaments and food-safe coatings. Make sure you read information about the topic on the page 3D-print Your Own Marcosticks, before you attempt to use 3D-printed chopsticks to eat anything. We recommend that you only rehearse the Standard Grip with printed chopsticks, if you do not know how to make them safe for actual eating.