Last Updated on January 30, 2022 by Staff
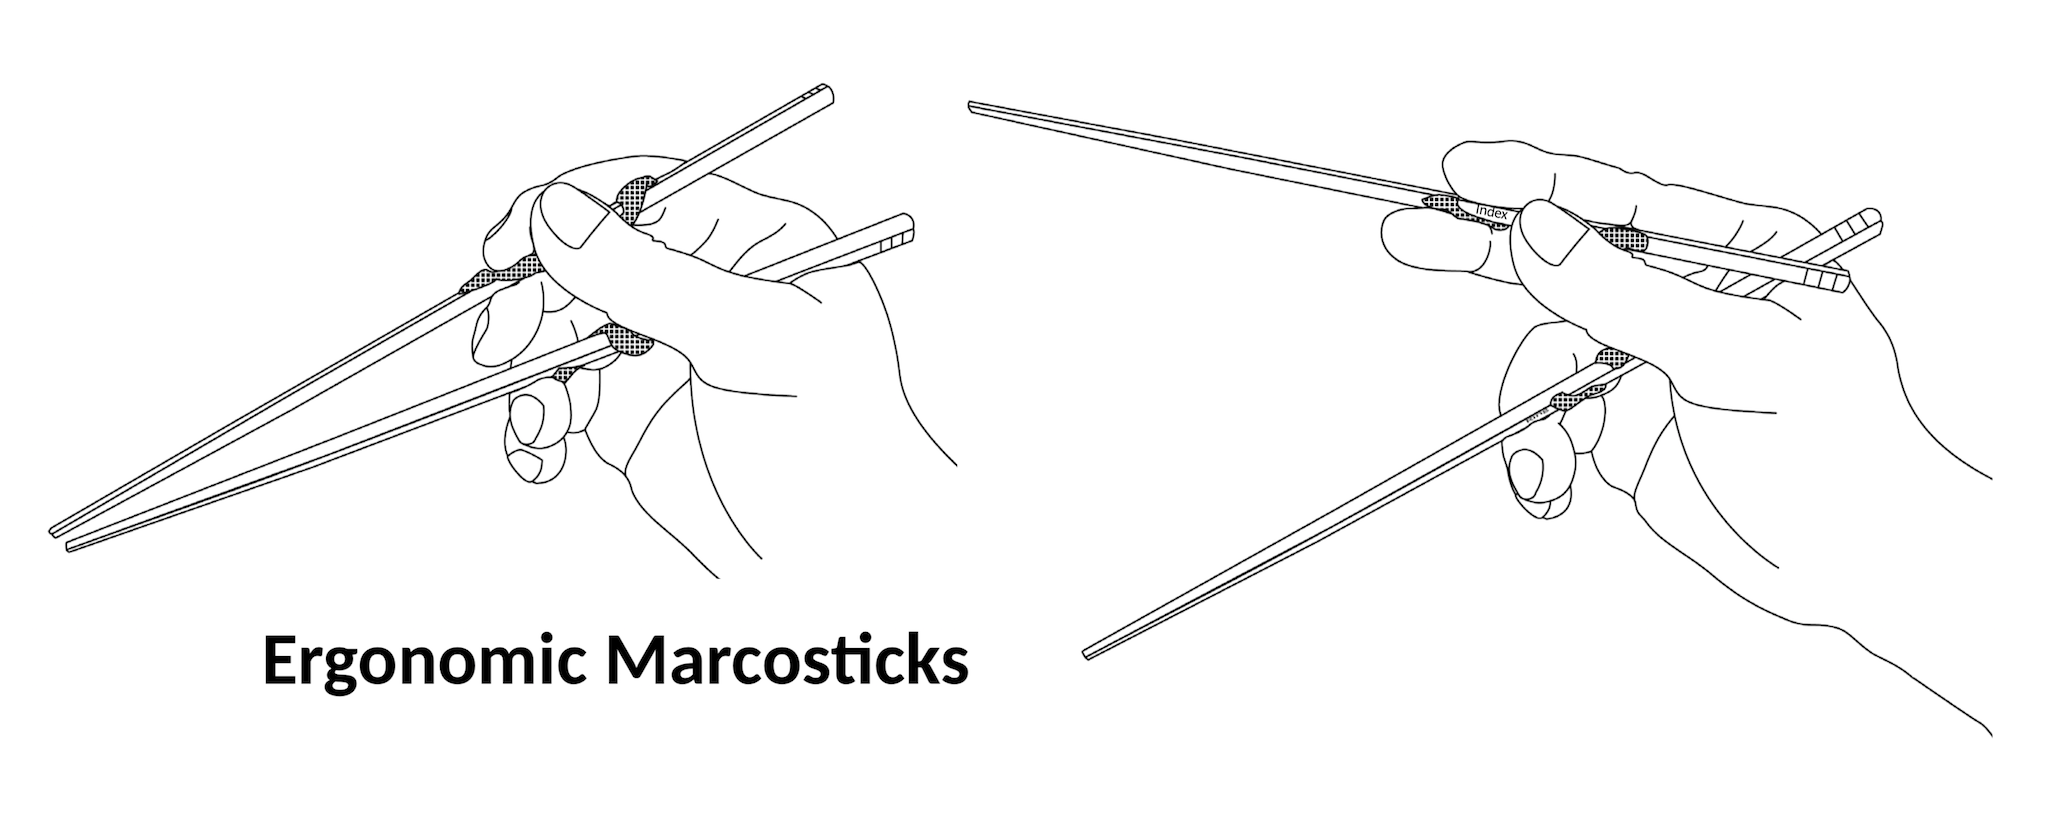
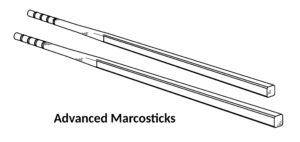
Ergonomic Marcosticks (model E) are favored by intermediate users. They look almost indistinguishable from plain chopsticks, thus do not invite unwanted stares at eating situations. Their low-profile ergonomic nuggets provide guides for fingers with tactile feedback.
Yet these ergonomic nuggets do not hinder fingers, nor prevent them from gripping and twirling chopsticks, unlike other learner chopsticks. As a result, ergonomic marcosticks offers the same dexterity, finesse, reach, speed, and power as plain chopsticks.
To learn more about various learner and training tools marcosticks.org makes freely available, check out Training Marcosticks That Work. For other learner and training tools, consult the catalog at the 3D-printing page. You may 3d-print them yourself, even though these training tools are covered by issued patents or pending patent applications.
Table of Contents
Equal power to plain chopsticks
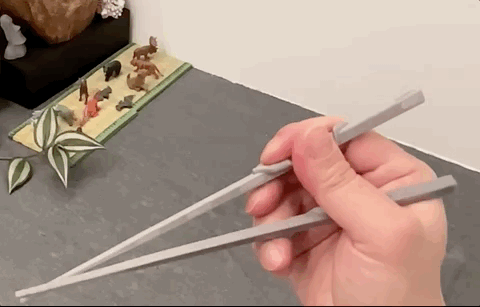
The next video demonstrates the compression and extension power achievable with Ergonomic Marcosticks, in slow motion.

The next video demonstrates the expansive reach of Ergonomic Marcosticks, in slow motion.
How they help you
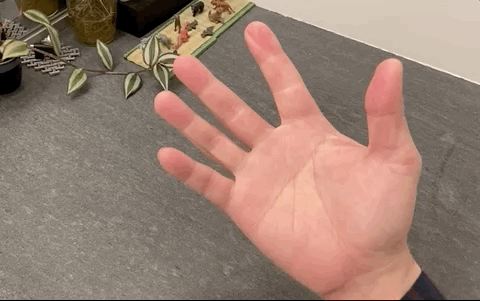
As far as finger skins are concerned, Ergonomic Marcosticks feel exactly the same as plain chopsticks. Recall that in Learn to Use Chopsticks, we stress the importance of finger skins meshing with the surface of both chopsticks, in order to grip them, and to twirl them effectively.
Following pictures illustrate stick marks left by Ergonomic Marcosticks on finger skins. These stick marks are identical to those made by plain chopsticks.
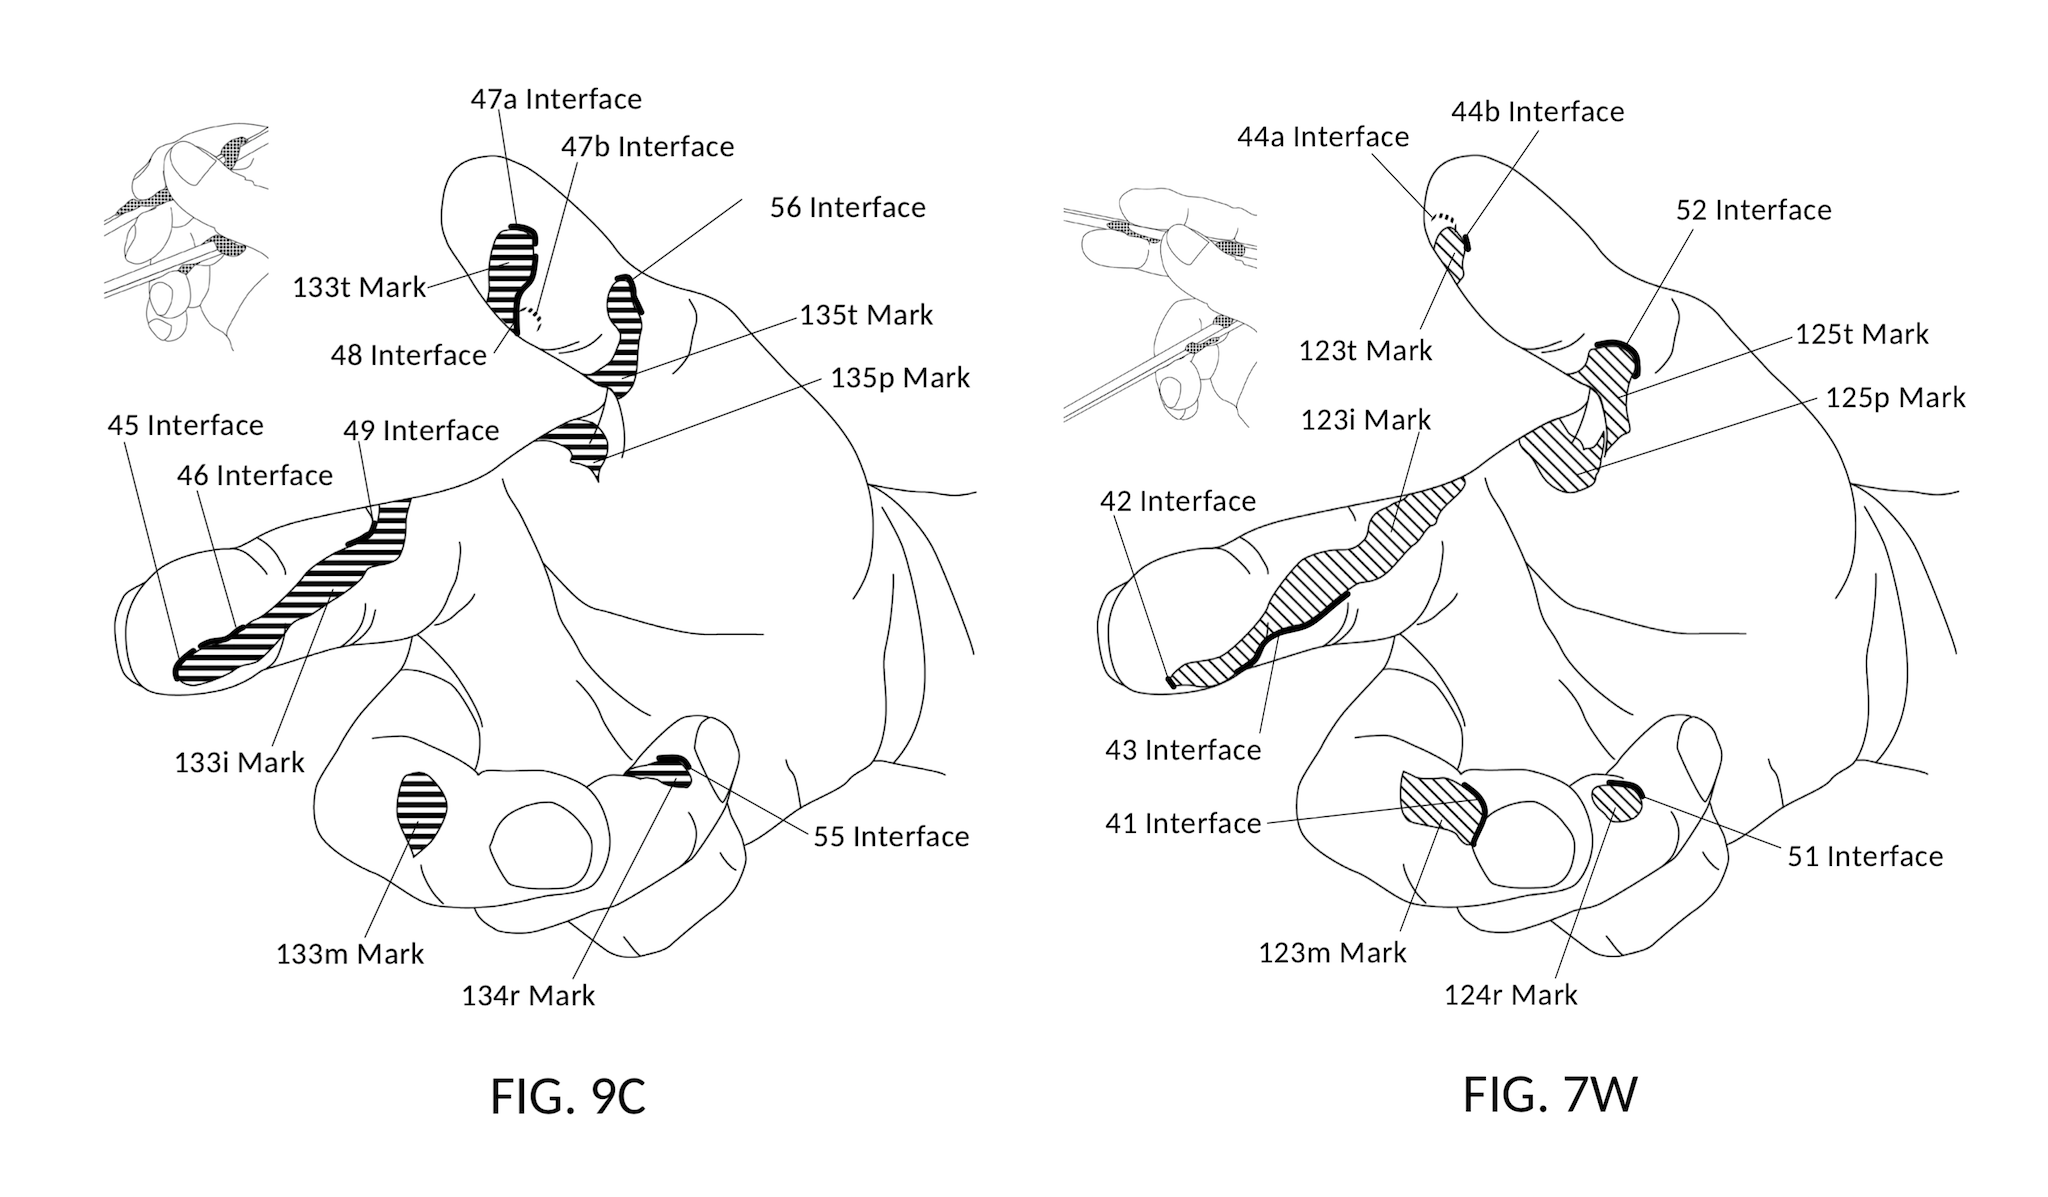
Yet, Ergonomic Marcosticks provide limit and guide interfaces outside of these stick mark areas. Limit interfaces signal both ends of the twirling motion: at the closed posture, and at the open posture. Guide interfaces coerce fingers into the right pose, throughout the twirling motion of fingers.
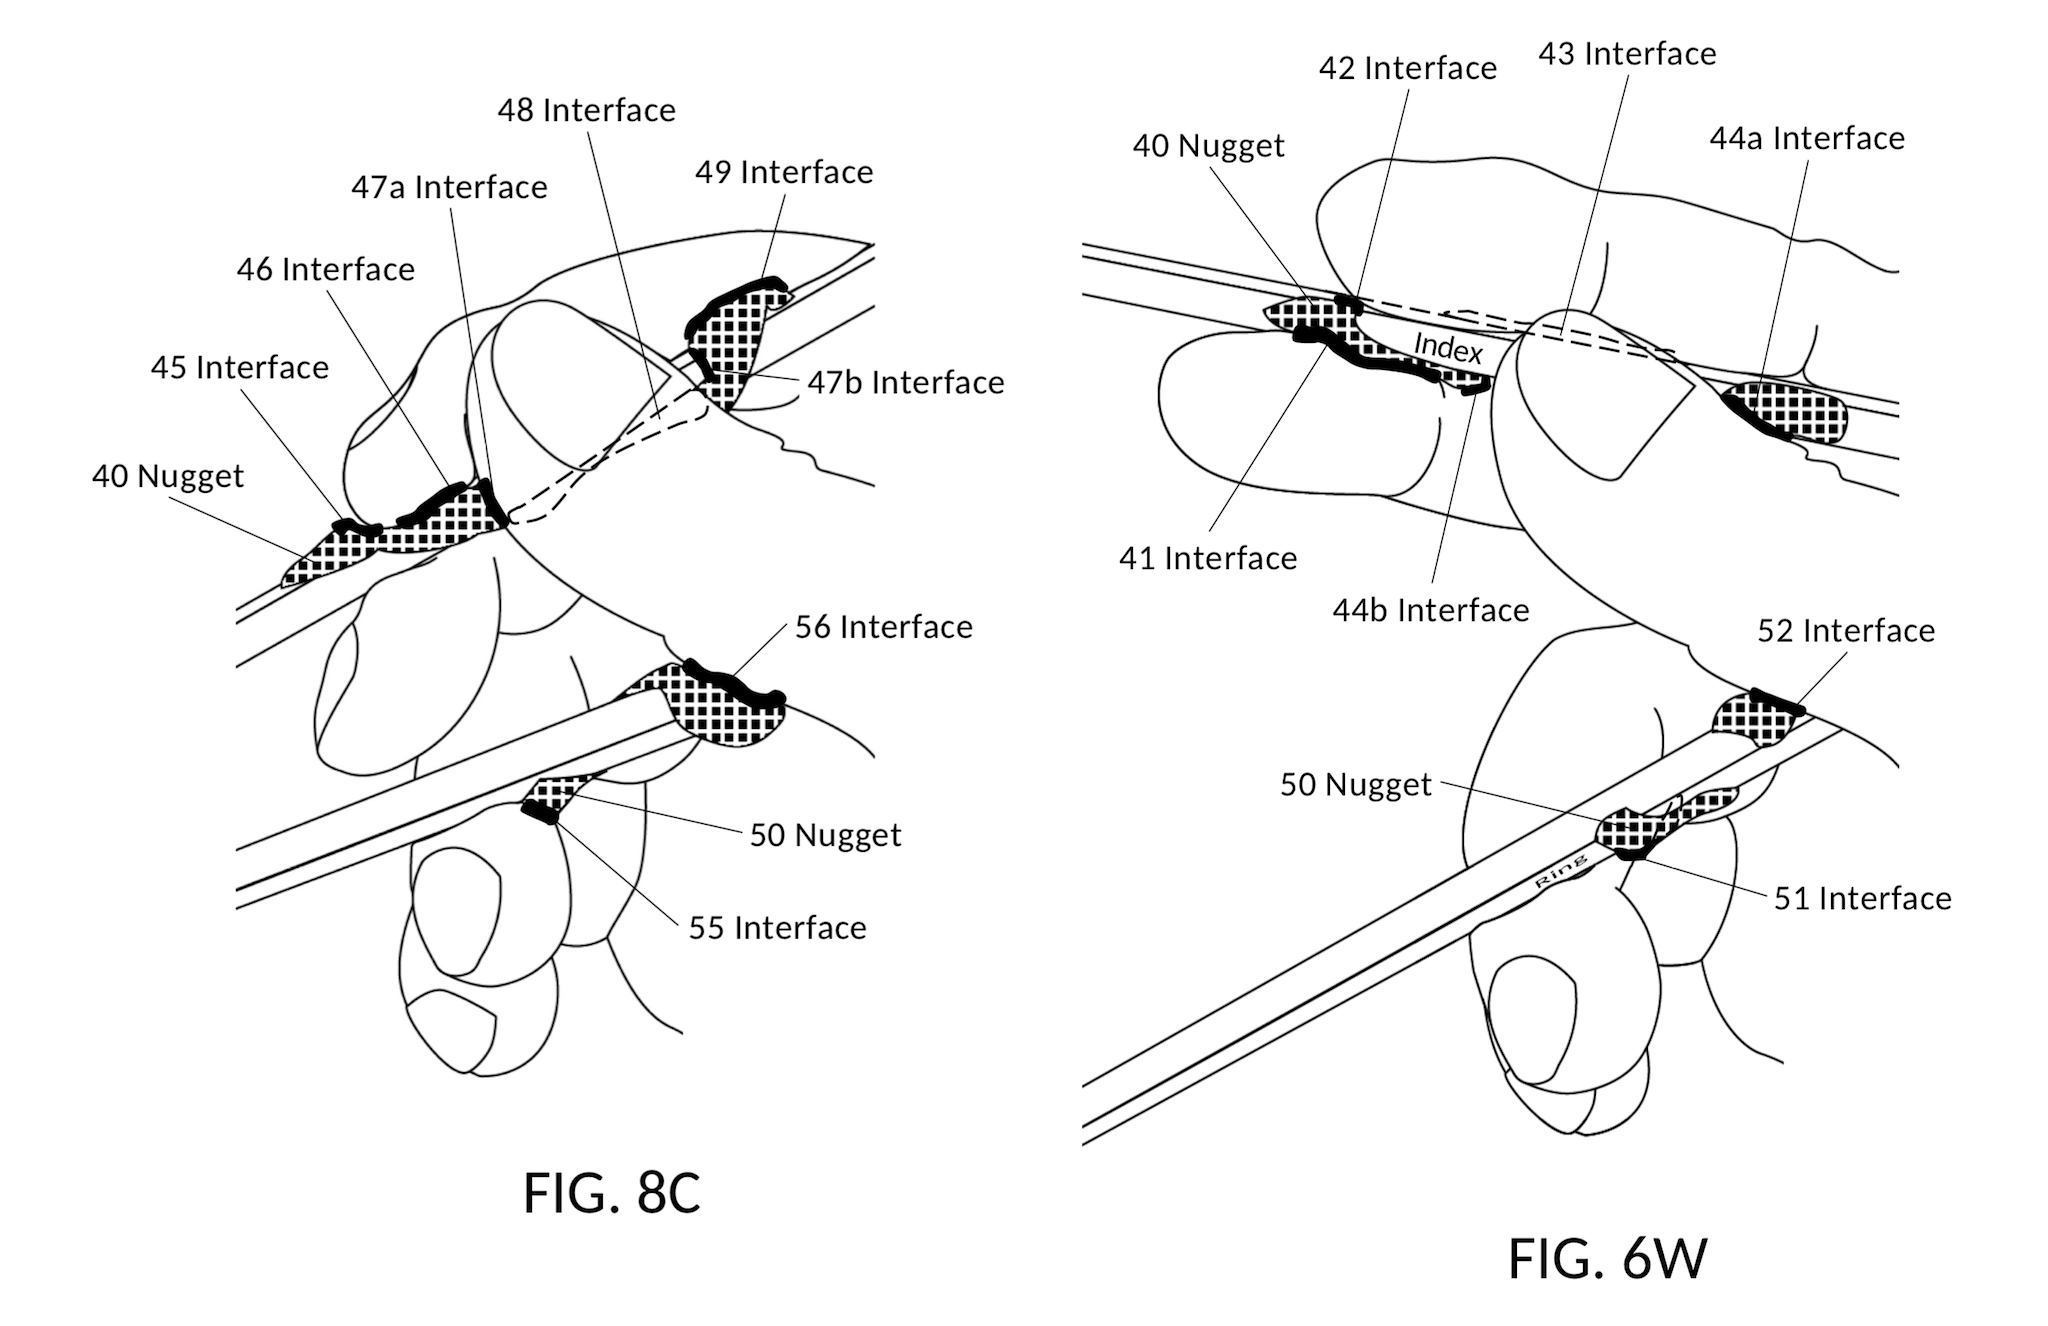
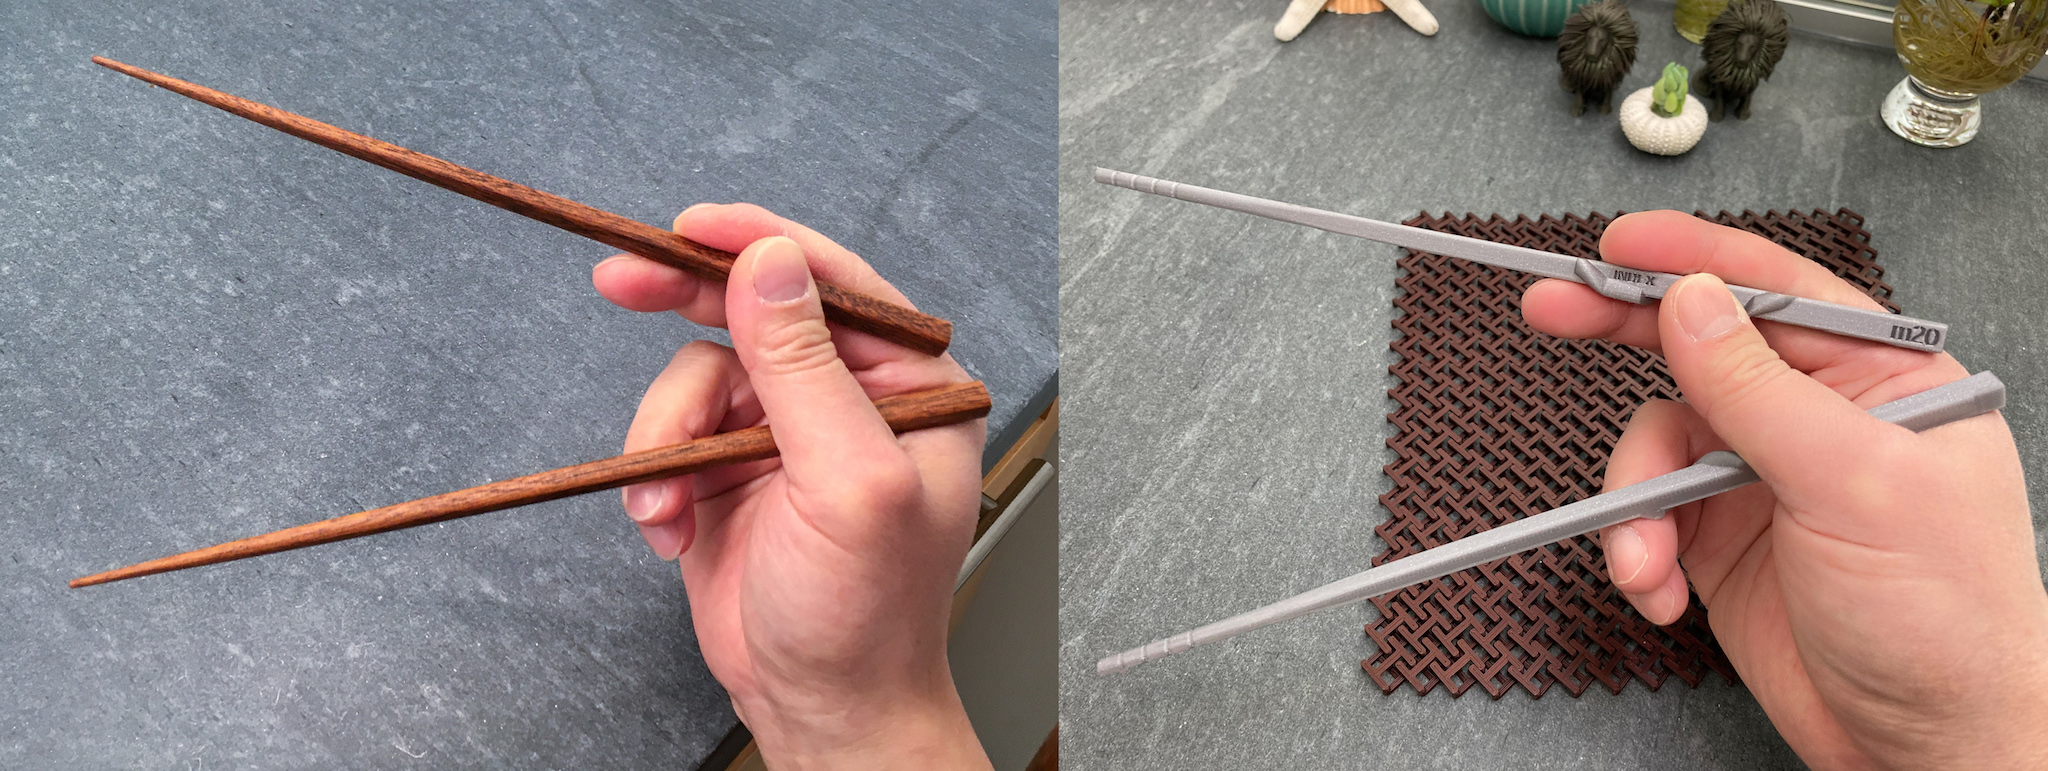
Following two images contrast Ergonomic Marcosticks (right) against plain chopsticks (left). You can visually confirm that ergonomic nuggets enhances tactile feedback, without interfering in the twirling of chopsticks.

How they are designed
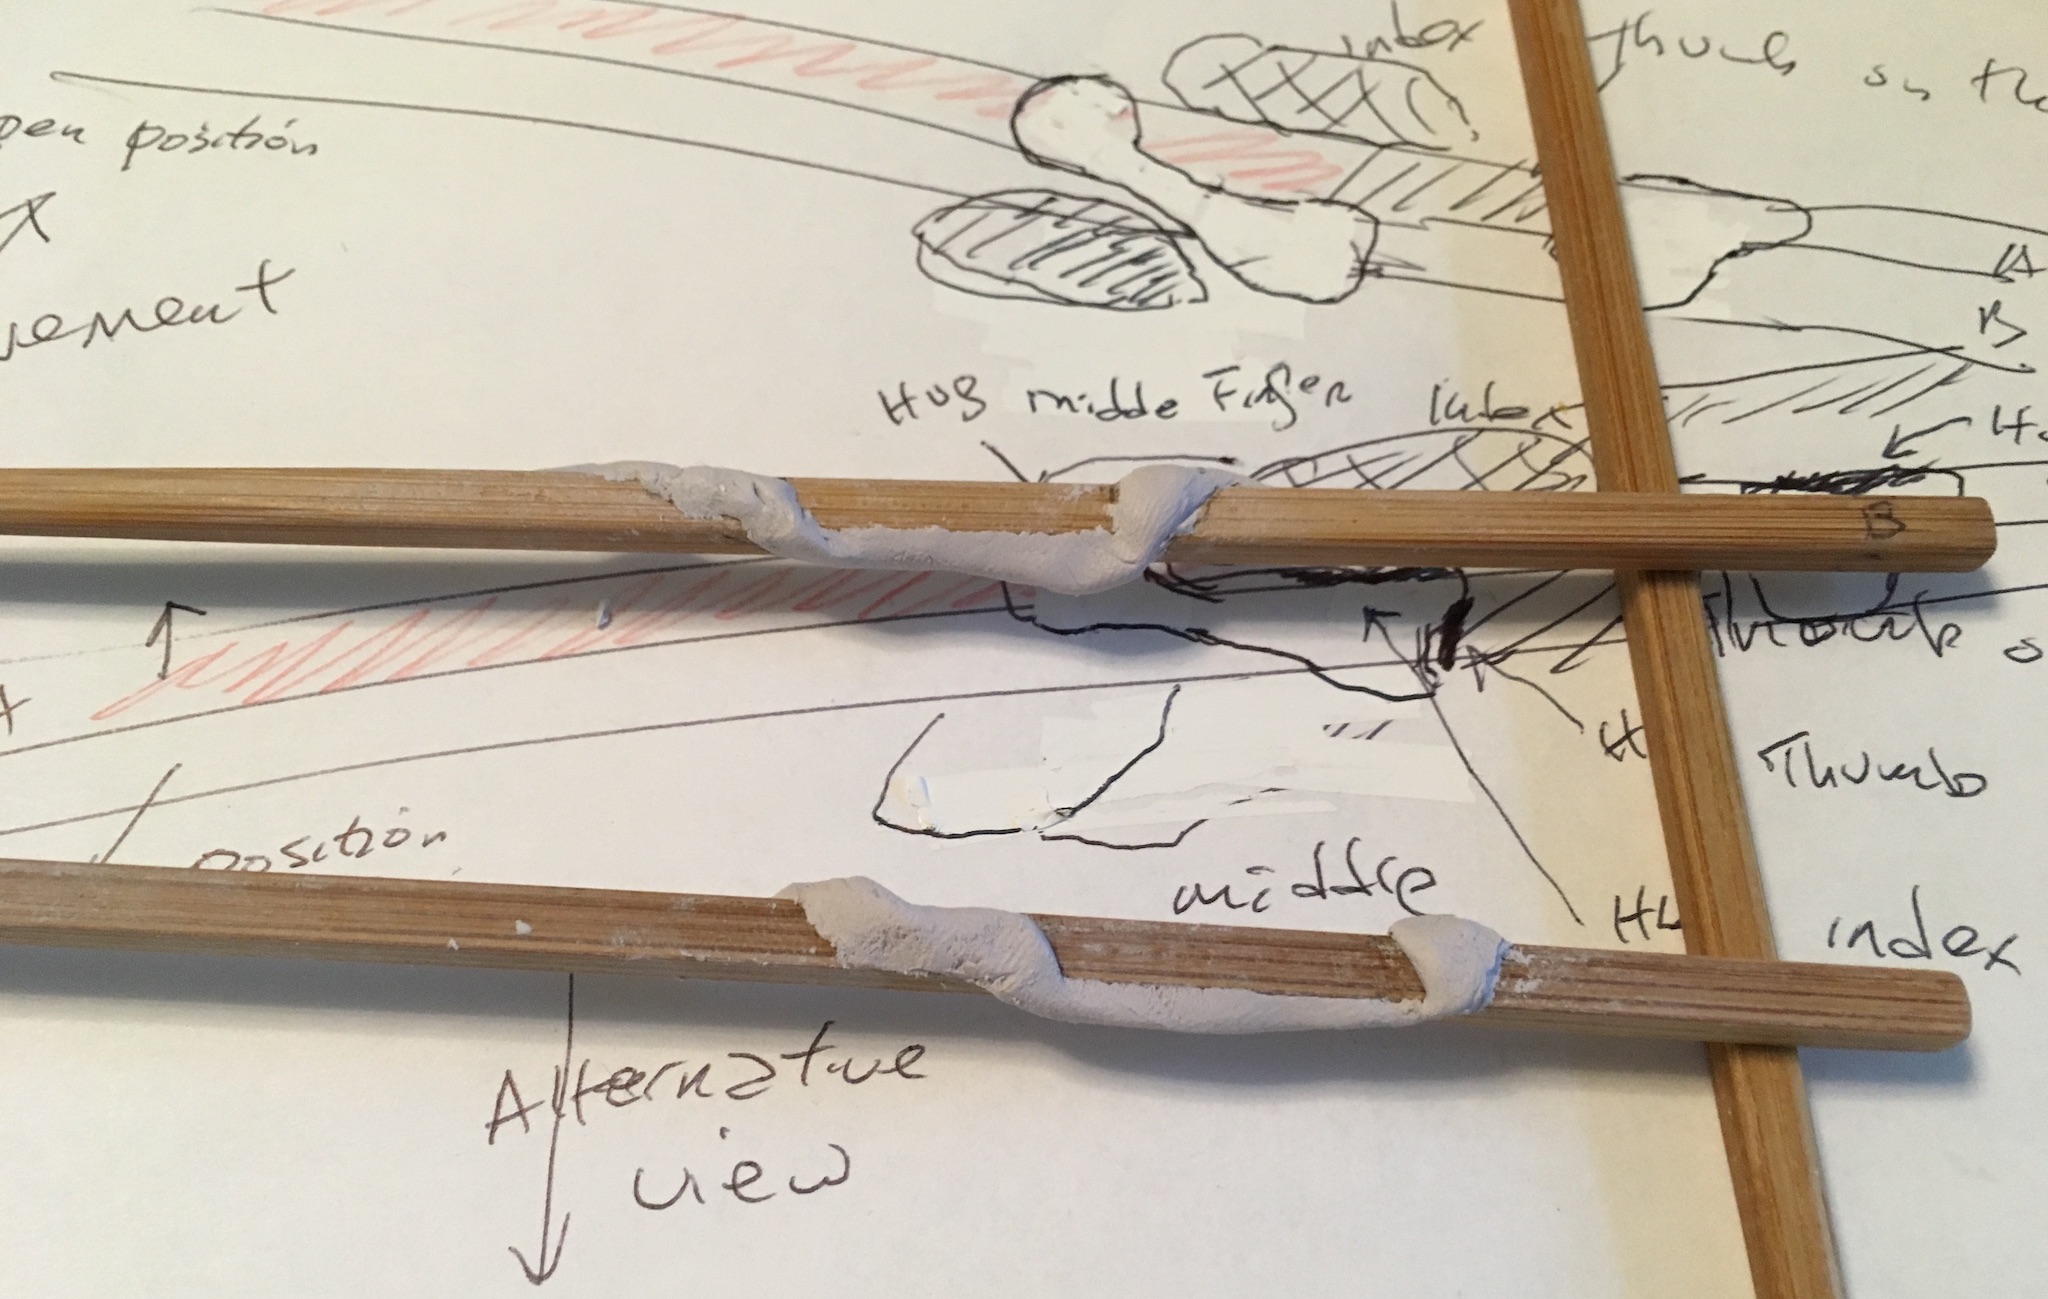
This entire marcosticks.org website owes its existence to the Ergonomic Marcosticks. You see, the whole thing started when one of us tried to to find the most non-intrusive learner chopsticks. We bought and tried all available products on the market. We built our own learner chopsticks, only to find that they hindered expected finger movements. To understand why nothing on the market worked, we set out to film real people using chopsticks, in slow motion. After watching hours after hours of footage, we discovered the planetary gear train principle behind the Standard Grip.
We invented ergonomic nuggets based on the principle, and the very first prototype worked extremely well for the first learner that tried it. We filed our first patent application to disclose this research finding, and the ergonomic chopsticks that resulted from it. Then this website and everything else followed.

Successful prints
You can print your own ergonomic marcosticks on your 3D printer. Most people have PLA filaments. These can be printed out in PLA in 0.20mm layers. If you don’t have a printer, you can get one from our partners.
Like all our 3D-printable models, no support is required to print these marcosticks. These print flat on the print bed. They only requires two oval brims to prevent warping during printing. Again, these brims can be easily trimmed off.
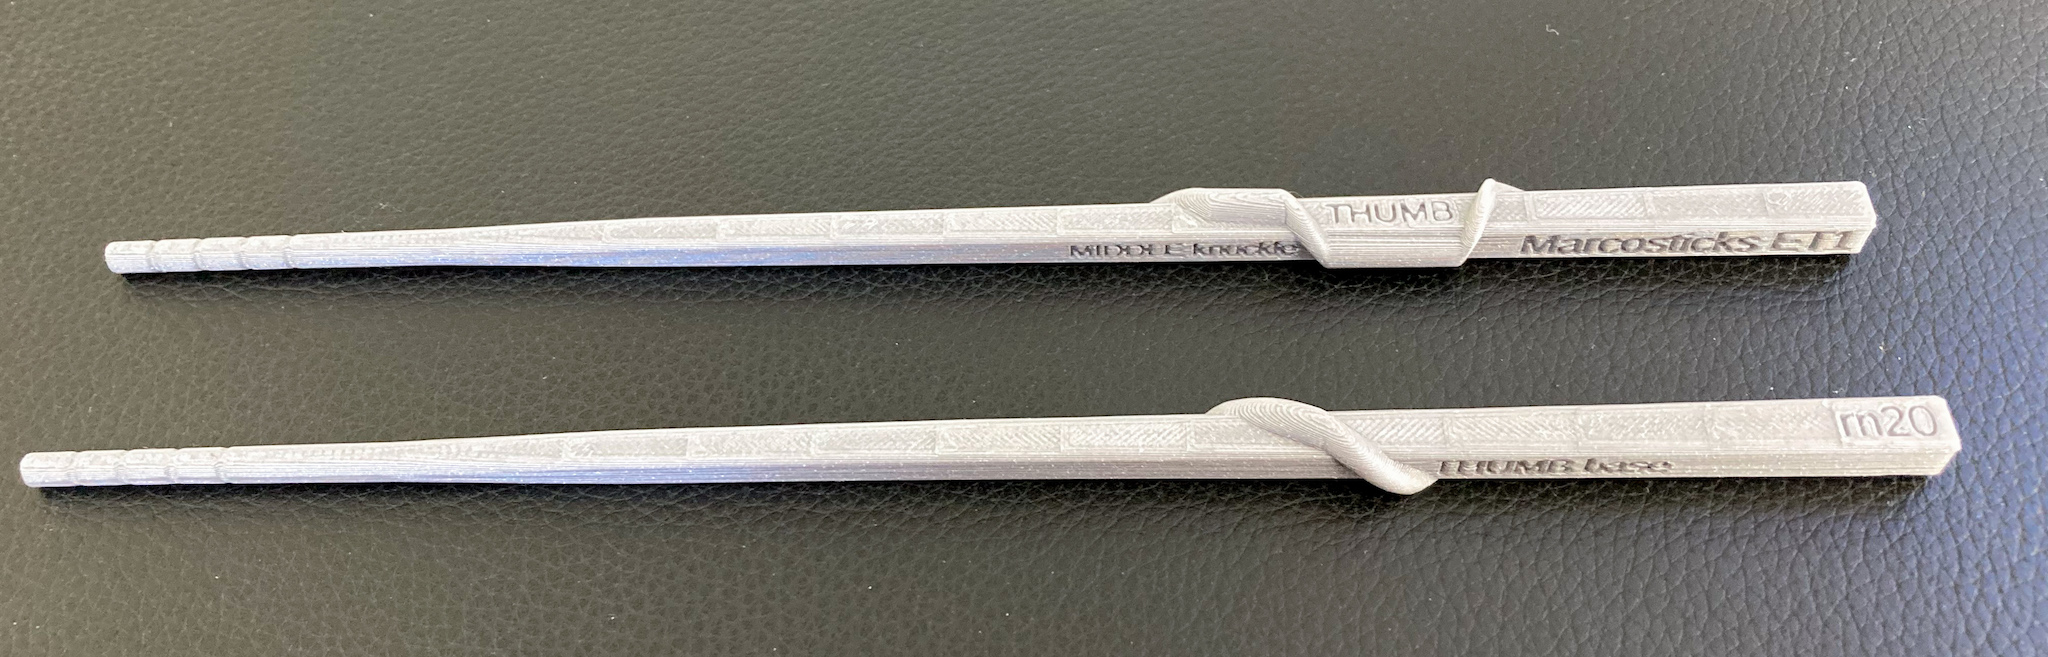
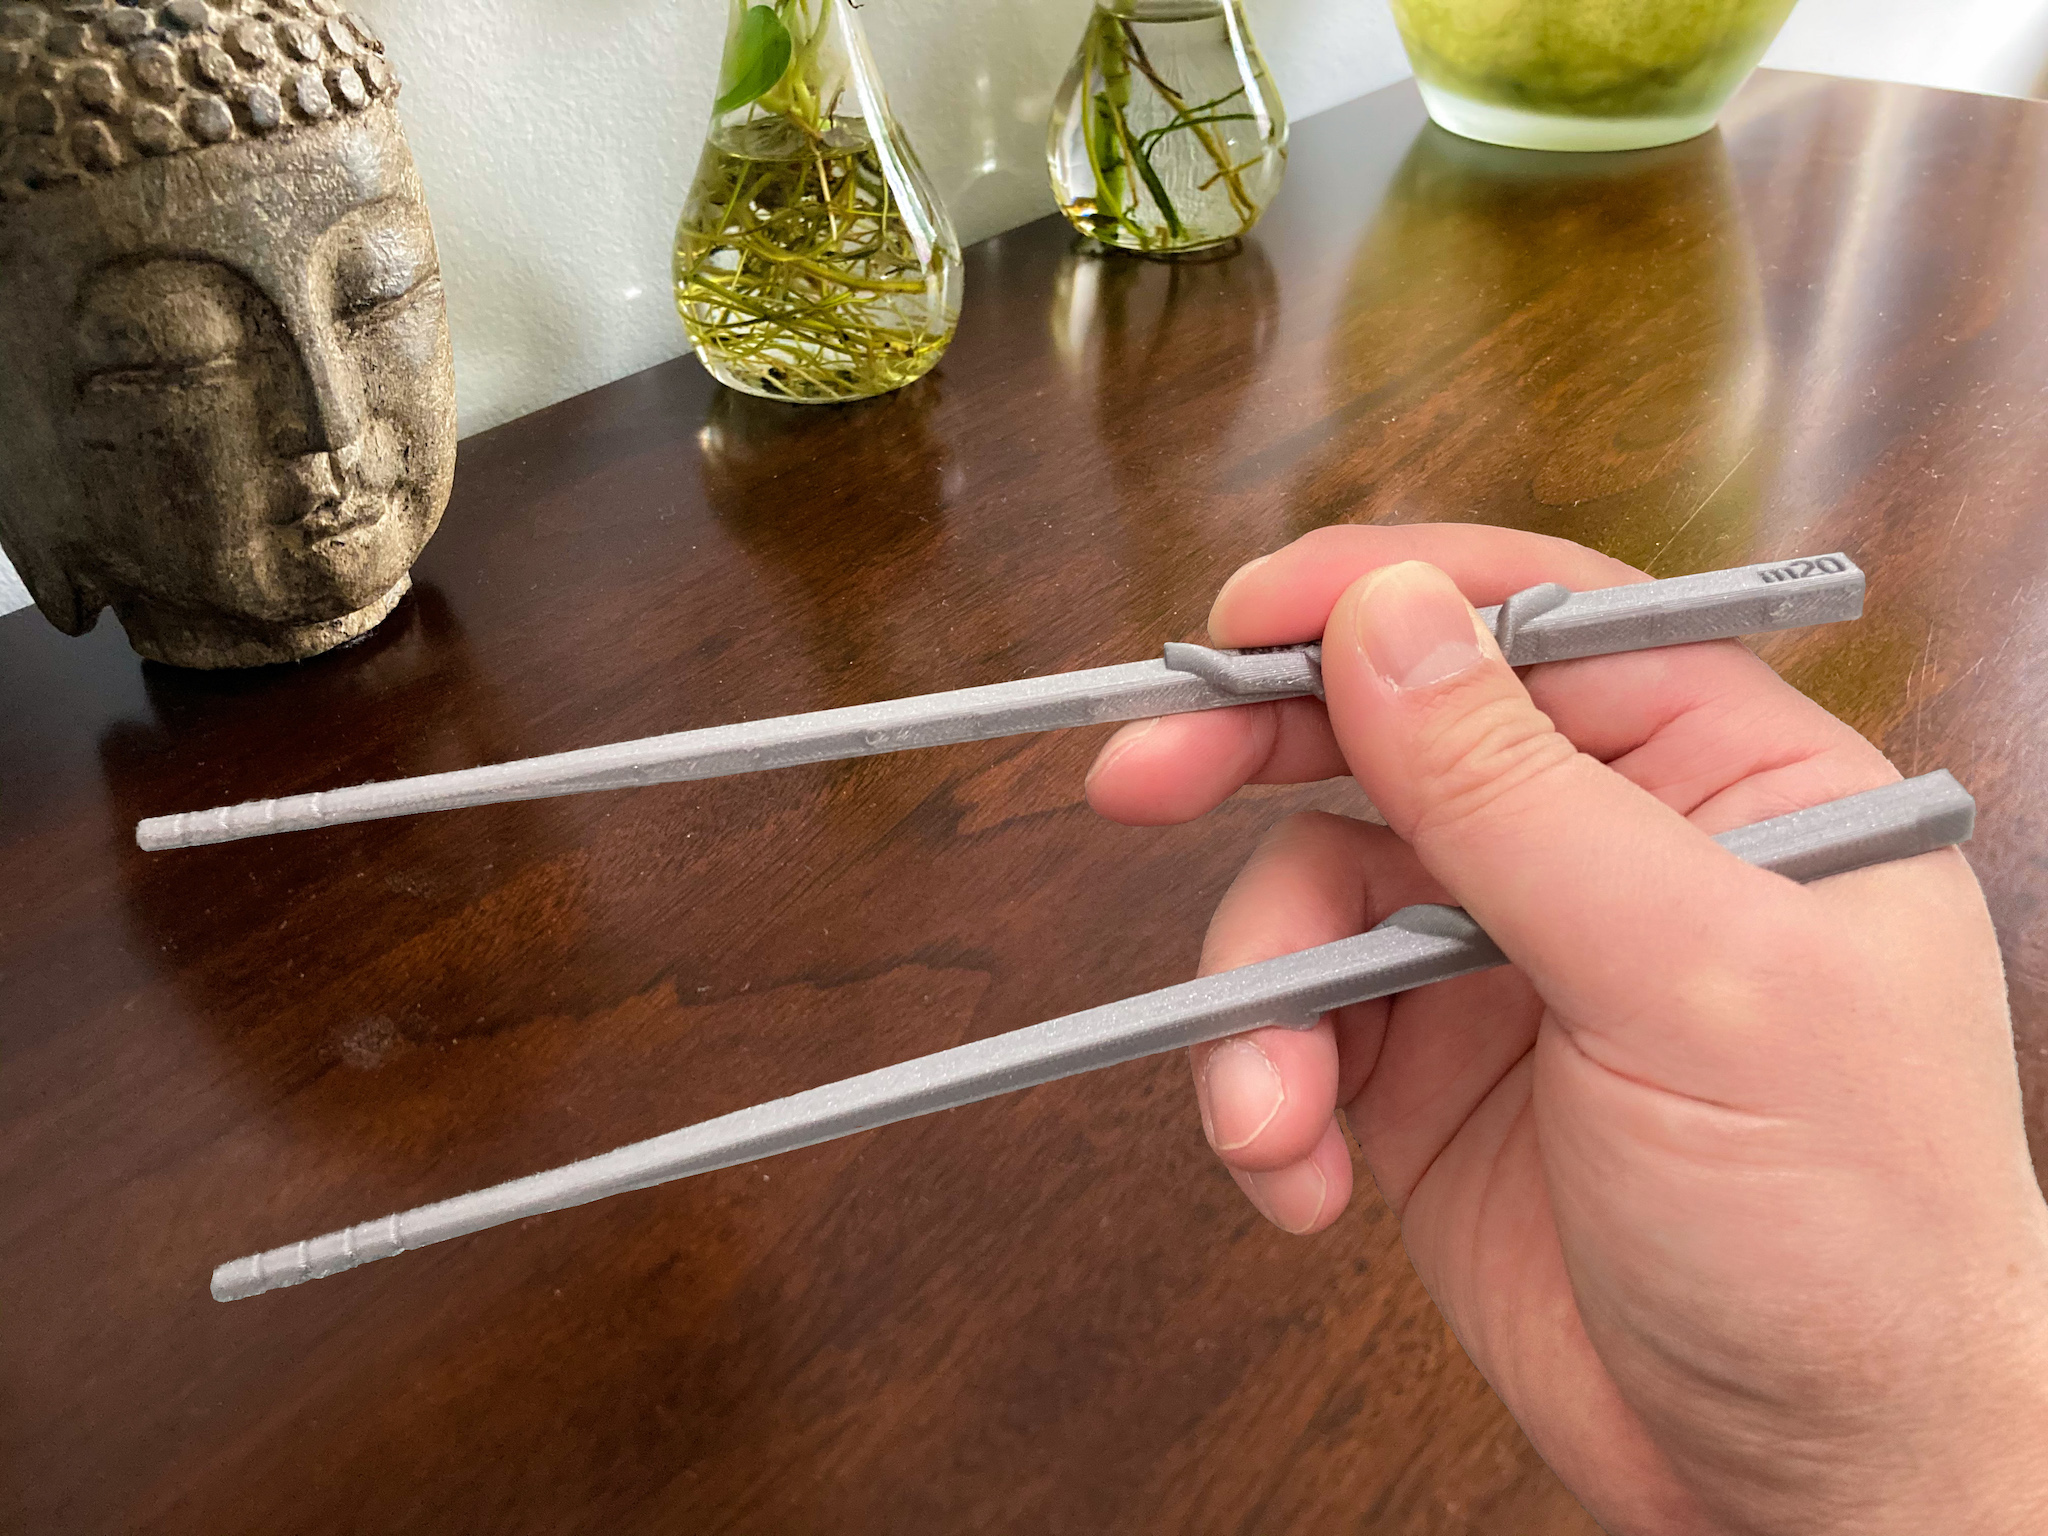
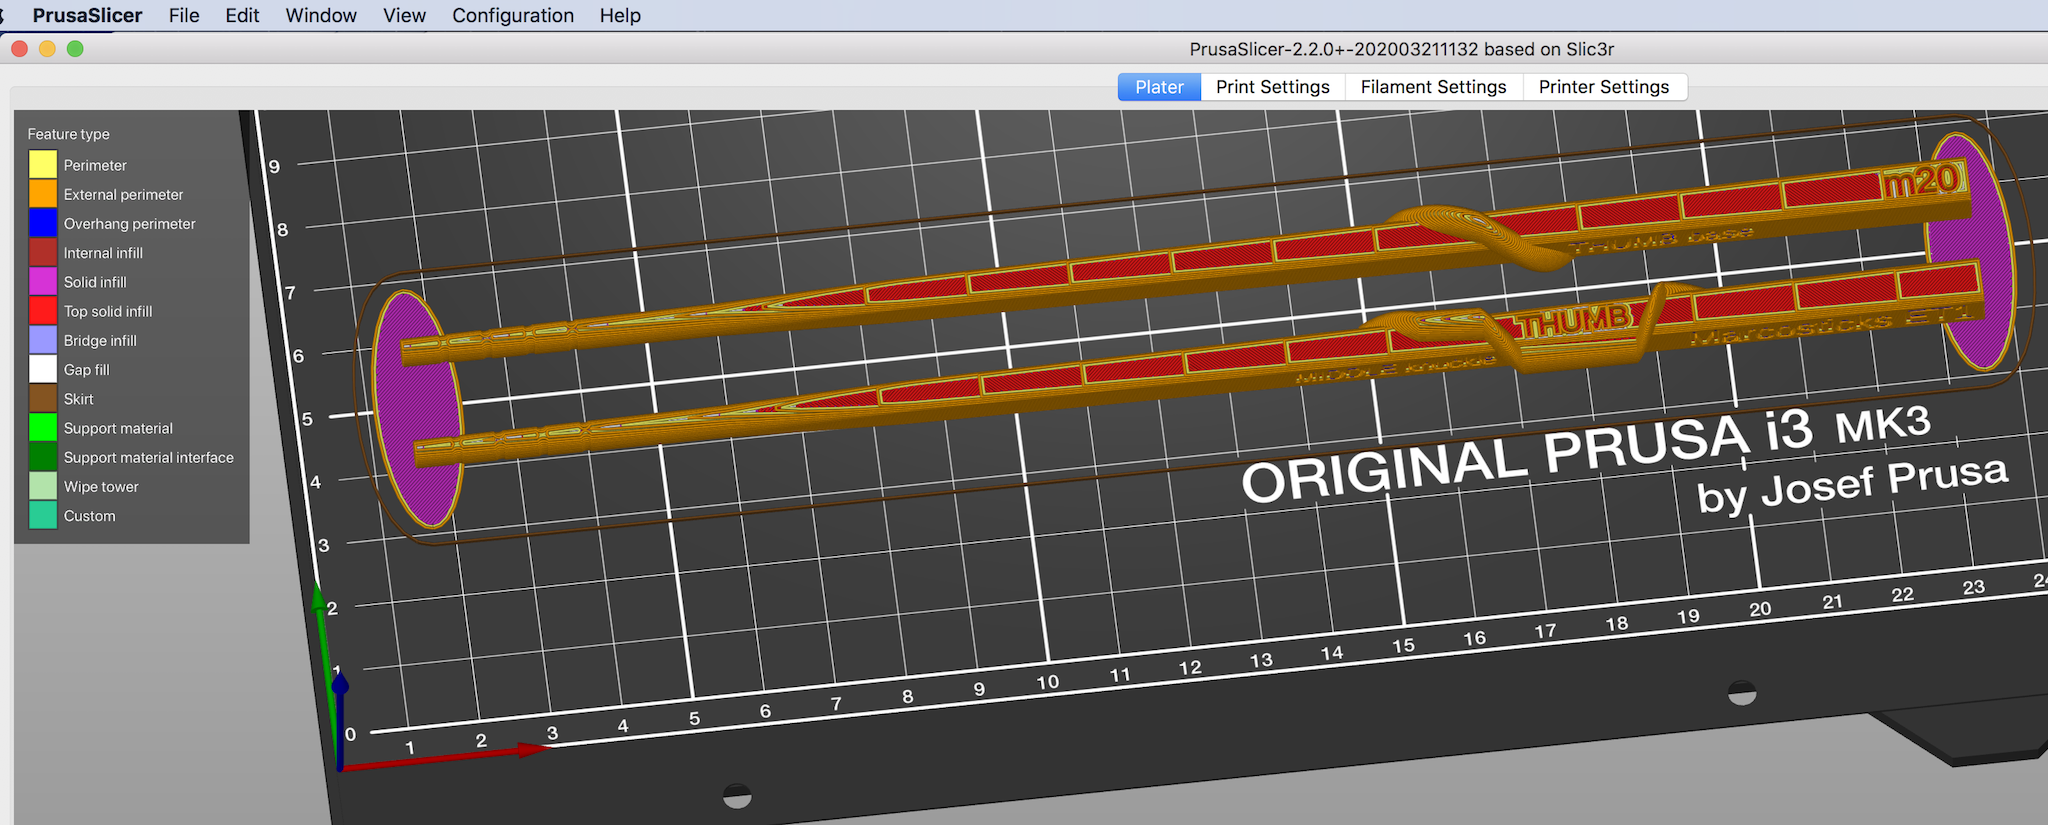
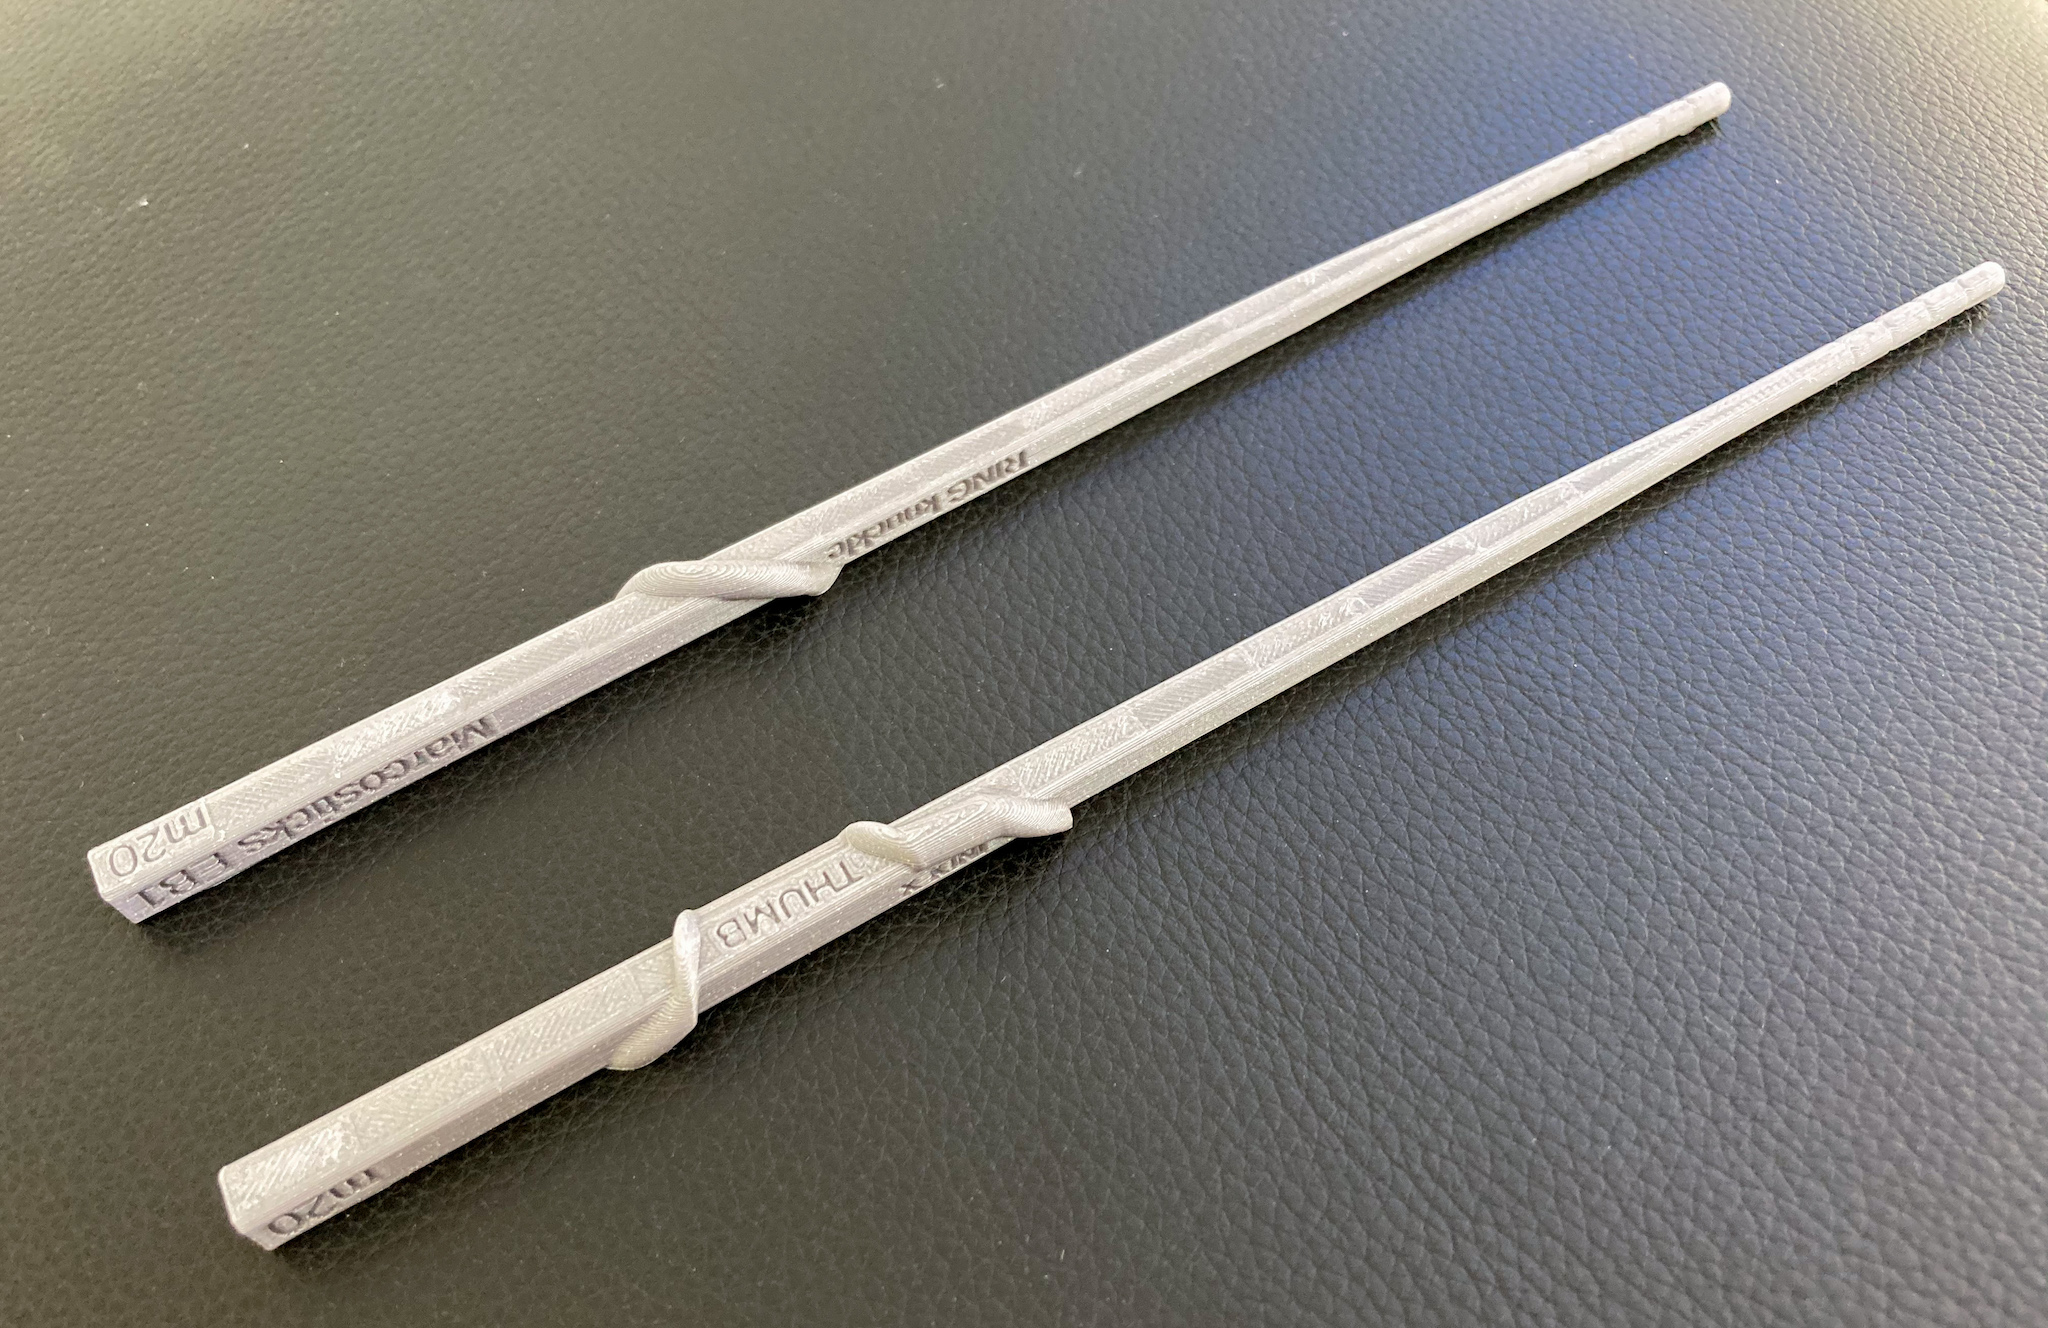
Labels “Thumb”, “Index” and “Middle Knuckle” are inscribed on the top chopsticks where these three fingers form a tripod hold. Labels “Thumb base” and “Ring Knuckle” are inscribed on the bottom chopsticks. These are useful for initial finger placement.

Download 3D models
Download this ZIP file: E1 Ergonomic Marcosticks – M22 PLA.
You will also find ergonomic marcosticks in the C1 Combo PLA file.
This package can also be found at Thingiverse 4683516.
3D printing instructions
Print in PLA – it’s stiff enough for chopsticks.
The 3MF files are PrusaSlicer projects, with our own printer settings for start-up GCODE, for MKS3. It warms up the nozzle before attempting to do print bed calibration. It takes a bit longer than the built-in start-up sequence. But it does a better job. It also reduces filament oozing before printing starts. It has a custom wipe routine to clean the nozzle before the first line is put down. If you don’t like it, you can simply reset printer settings to your own default.
The STL files can be used direct in your own preferred slicer, if you don’t find the 3MF files useful, or you are not using a Prusa printer.
Set layer height to 0.20mm. You can use finer layers, if you really wish to. But 0.20mm works fines, and prints faster.
Enable “Detect bridging parameters” in PrusaSlicer, or the equivalent in your slicer. Some parts of chopsticks require bridging work. By enabling this feature, you direct your slicer to pay special attention to areas that require bridging, for a better printed product.
Add oval brims at strategic locations, to ensure that chopsticks do not warp off the print bed during printing. Brims can be easily trimmed with scissors, a flush cutter, or a deburring tool during post-processing.
Most marcosticks models require 100% infill, if you want sticks to be stiff enough for practice.
Post-print processing
The following video talks about post-print processing of training marcosticks. But the deburring section will be useful for ergonomic marcosticks as well. For ergonomic marcosticks, you only need to trim off brims with the deburring tool, if you printed the model with brims as we recommend.
You should not use 3D-printed objects in real eating situations, without understanding food-grade filaments and food-safe coatings. Make sure you read information about the topic on the page 3D-print Your Own Marcosticks, before you attempt to use 3D-printed chopsticks to eat anything. We recommend that you only rehearse the Standard Grip with printed chopsticks, if you do not know how to make them safe for actual eating.
How to order marco sticks
How to get marco sticks
Katrina, see our 3D-printed chopsticks page (there is a link at the top of the page). We’ll also contact you offline.
Pingback: Ergonomic Chopsticks 3D print model – BlingOrbit